
Step-by-Step Tutorials
Your First AI-Powered Query
Your First AI-Powered Query
The AI Chat Assistant makes database exploration accessible to everyone, regardless of SQL knowledge. This tutorial walks you through your first AI-powered query, from opening the Chat page to understanding results. By the end, you'll be comfortable asking questions in natural language and interpreting what the AI tells you about your data.
What You'll Learn
By the end of this tutorial, you'll be able to:
- Navigate to the Chat interface
- Understand the Chat page layout
- Configure an AI provider (simplified approach)
- Ask your first simple question
- Interpret AI responses
- Request data from specific tables
- View the SQL code behind AI responses
- Handle and learn from errors
- Ask follow-up questions to refine results
Info
This tutorial assumes you've already connected to a database. If you haven't, complete the First Database Connection tutorial first.
Prerequisites
Before starting, make sure you have:
- WhoDB connected to a database with data
- An AI provider configured (OpenAI, Anthropic, Gemini, Ollama, or LM Studio)
- Basic familiarity with your database structure (what tables exist)
Note
If you haven't set up an AI provider yet, see the Setting Up AI Providers guide. For this tutorial, any provider will work fine.
Warning
Do not continue this tutorial until the Chat page has both an active provider and a selected model. If the model dropdown is empty, the chat input remains disabled.
Step 1: Opening the Chat Page
After connecting to your database, navigate to the Chat page:
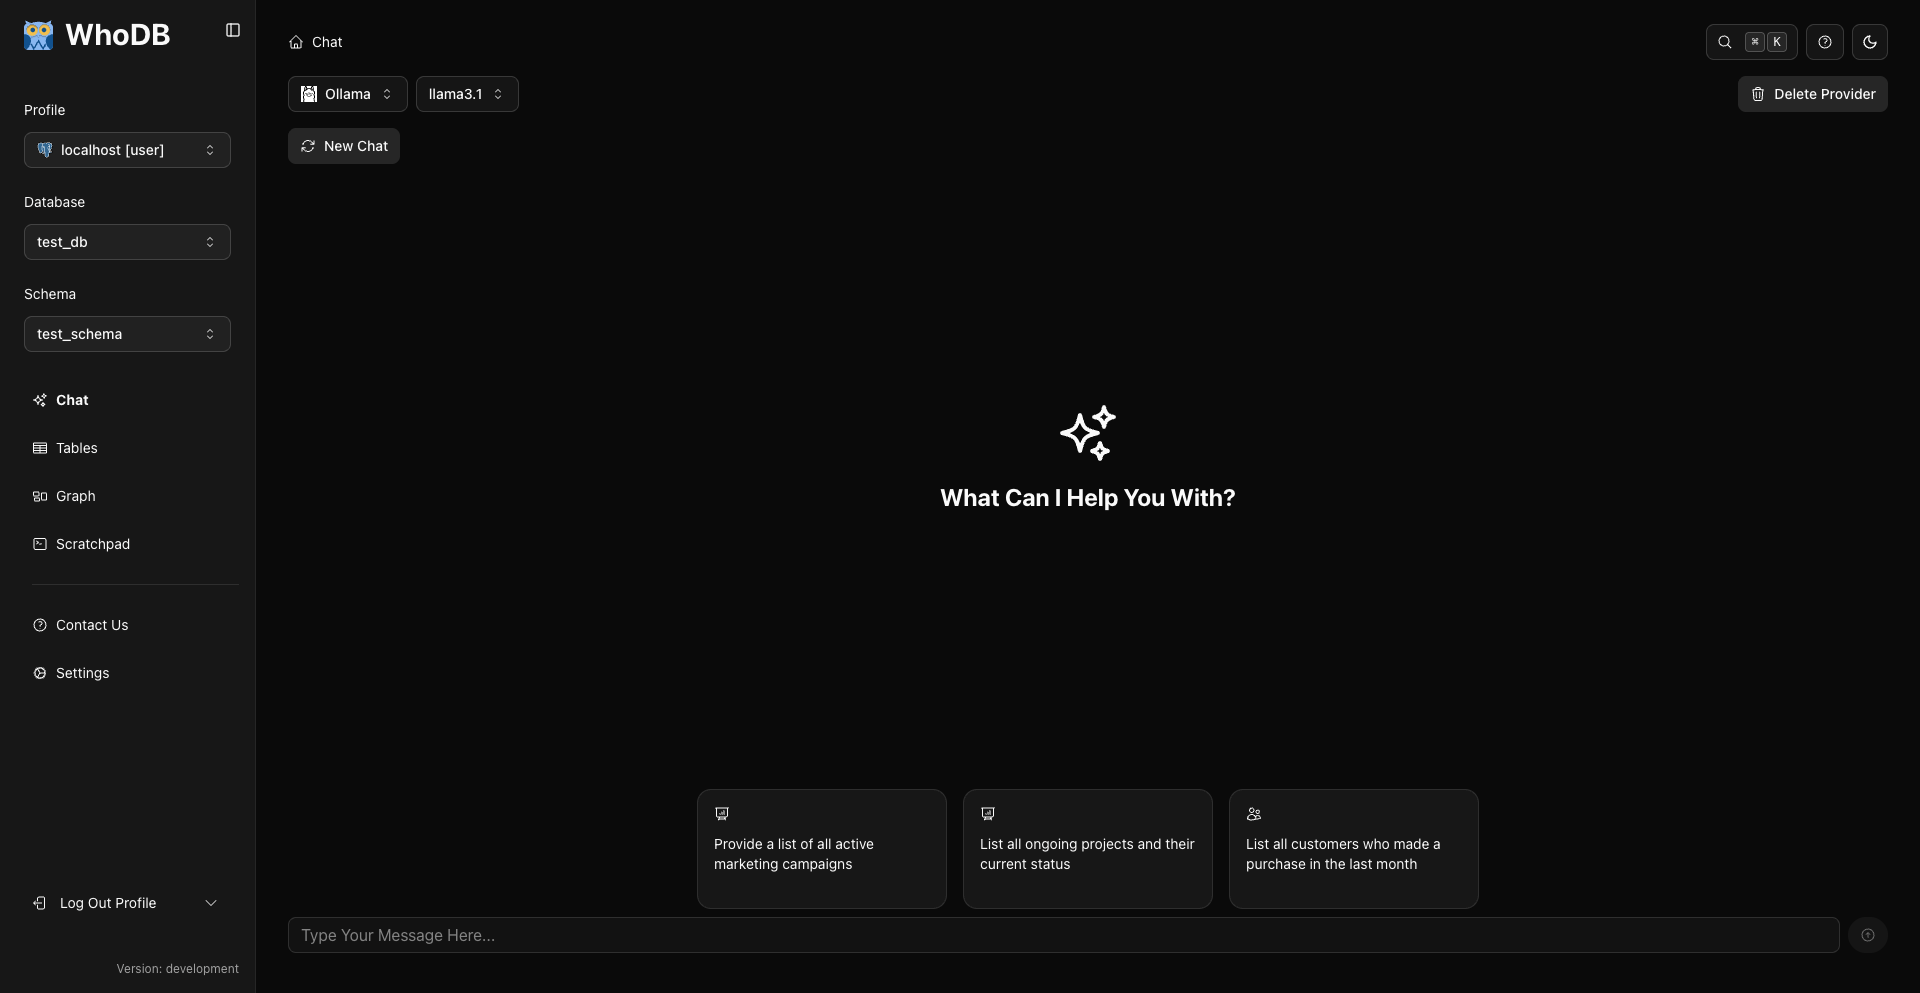
The Chat page is your gateway to natural language database interaction. You'll notice several elements:
AI Provider Dropdown: At the top left, shows your current AI provider (OpenAI, Anthropic, Gemini, Ollama, or LM Studio).
AI Model Dropdown: Next to the provider, displays the specific model being used, fetched from your provider.
Chat Interface: The main area where your conversation with the AI will appear.
Input Box: At the bottom, where you type your questions.
Example Prompts: Helpful suggestions to get you started with common questions.
Tip
The Chat page remembers your conversation history. You can refer back to previous questions and answers throughout your session.
Step 2: Understanding Your AI Configuration
Before asking questions, let's verify your AI configuration. Click the AI Provider dropdown to see available providers:
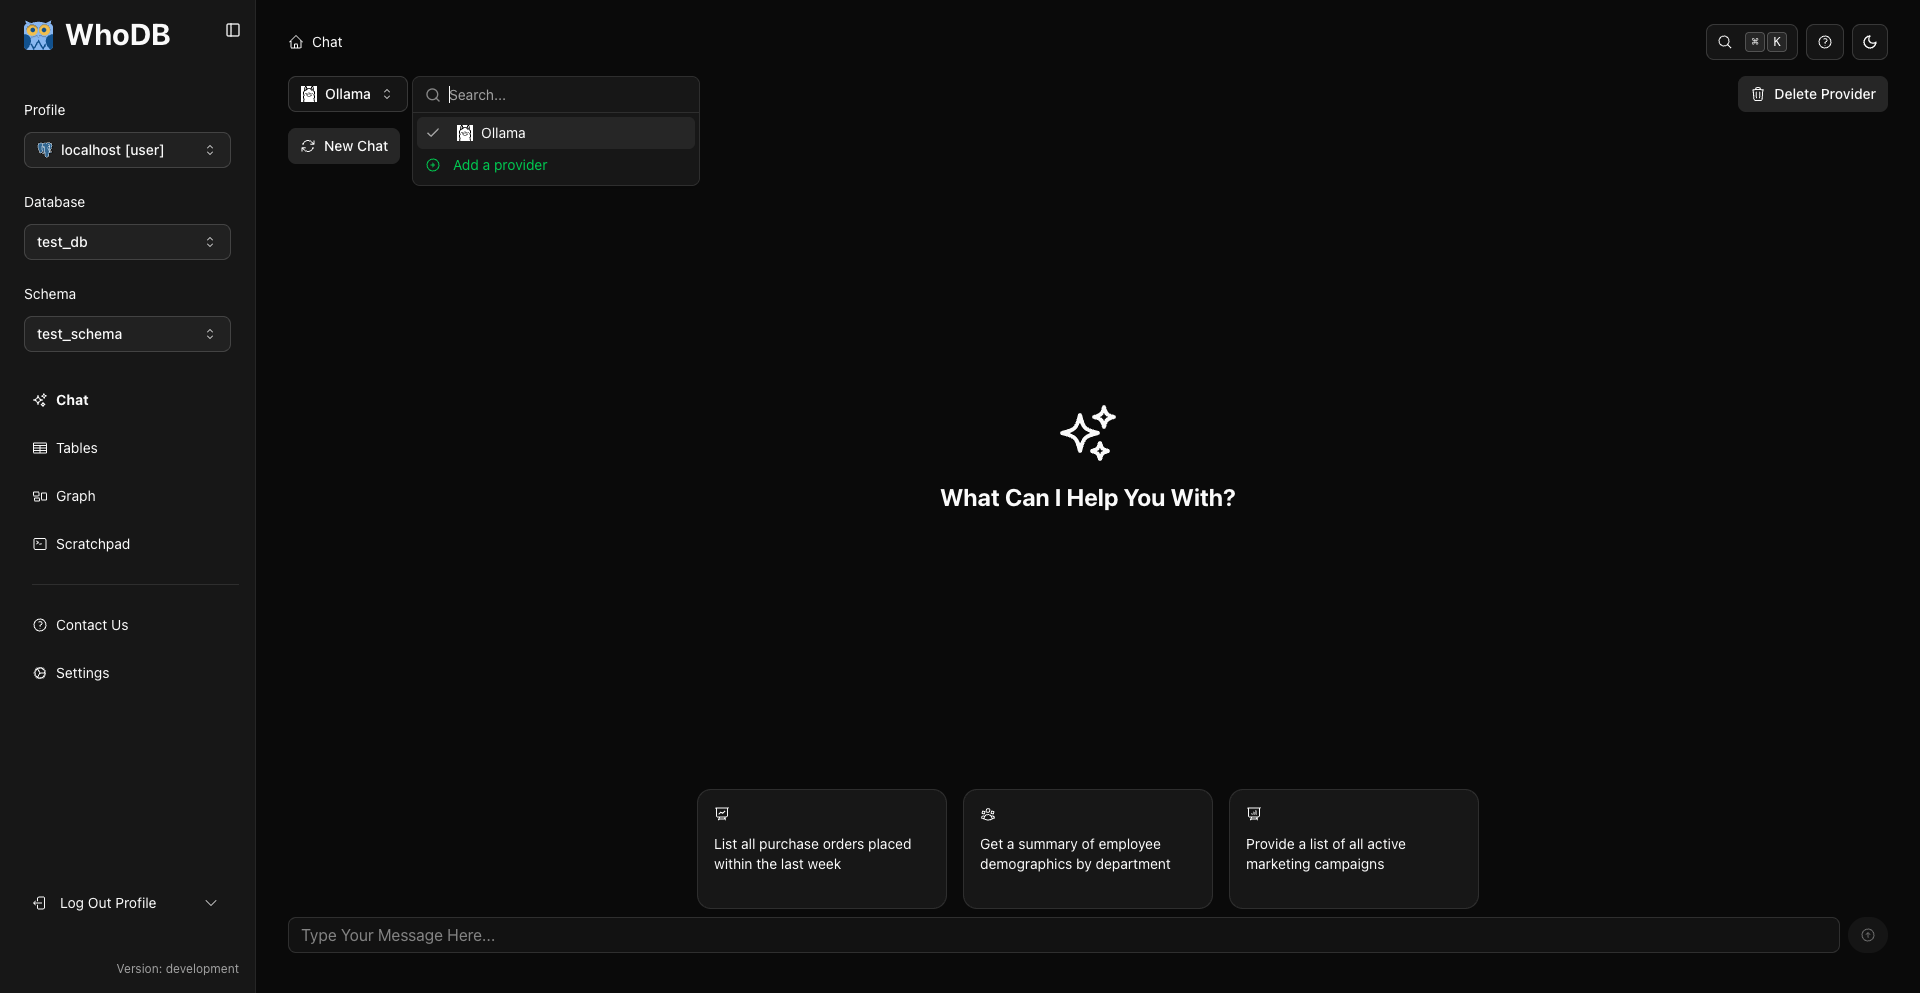
You should see at least one configured provider:
- OpenAI: Cloud-based, fast and accurate
- Anthropic: Cloud-based, excellent for complex queries
- Gemini: Cloud-based, added with a Gemini API / AI Studio key
- Ollama: Local, privacy-focused, detected automatically when running
- LM Studio: Local, privacy-focused, detected automatically when running
Select your preferred provider if it's not already active.
Next, click the AI Model dropdown to see available models:
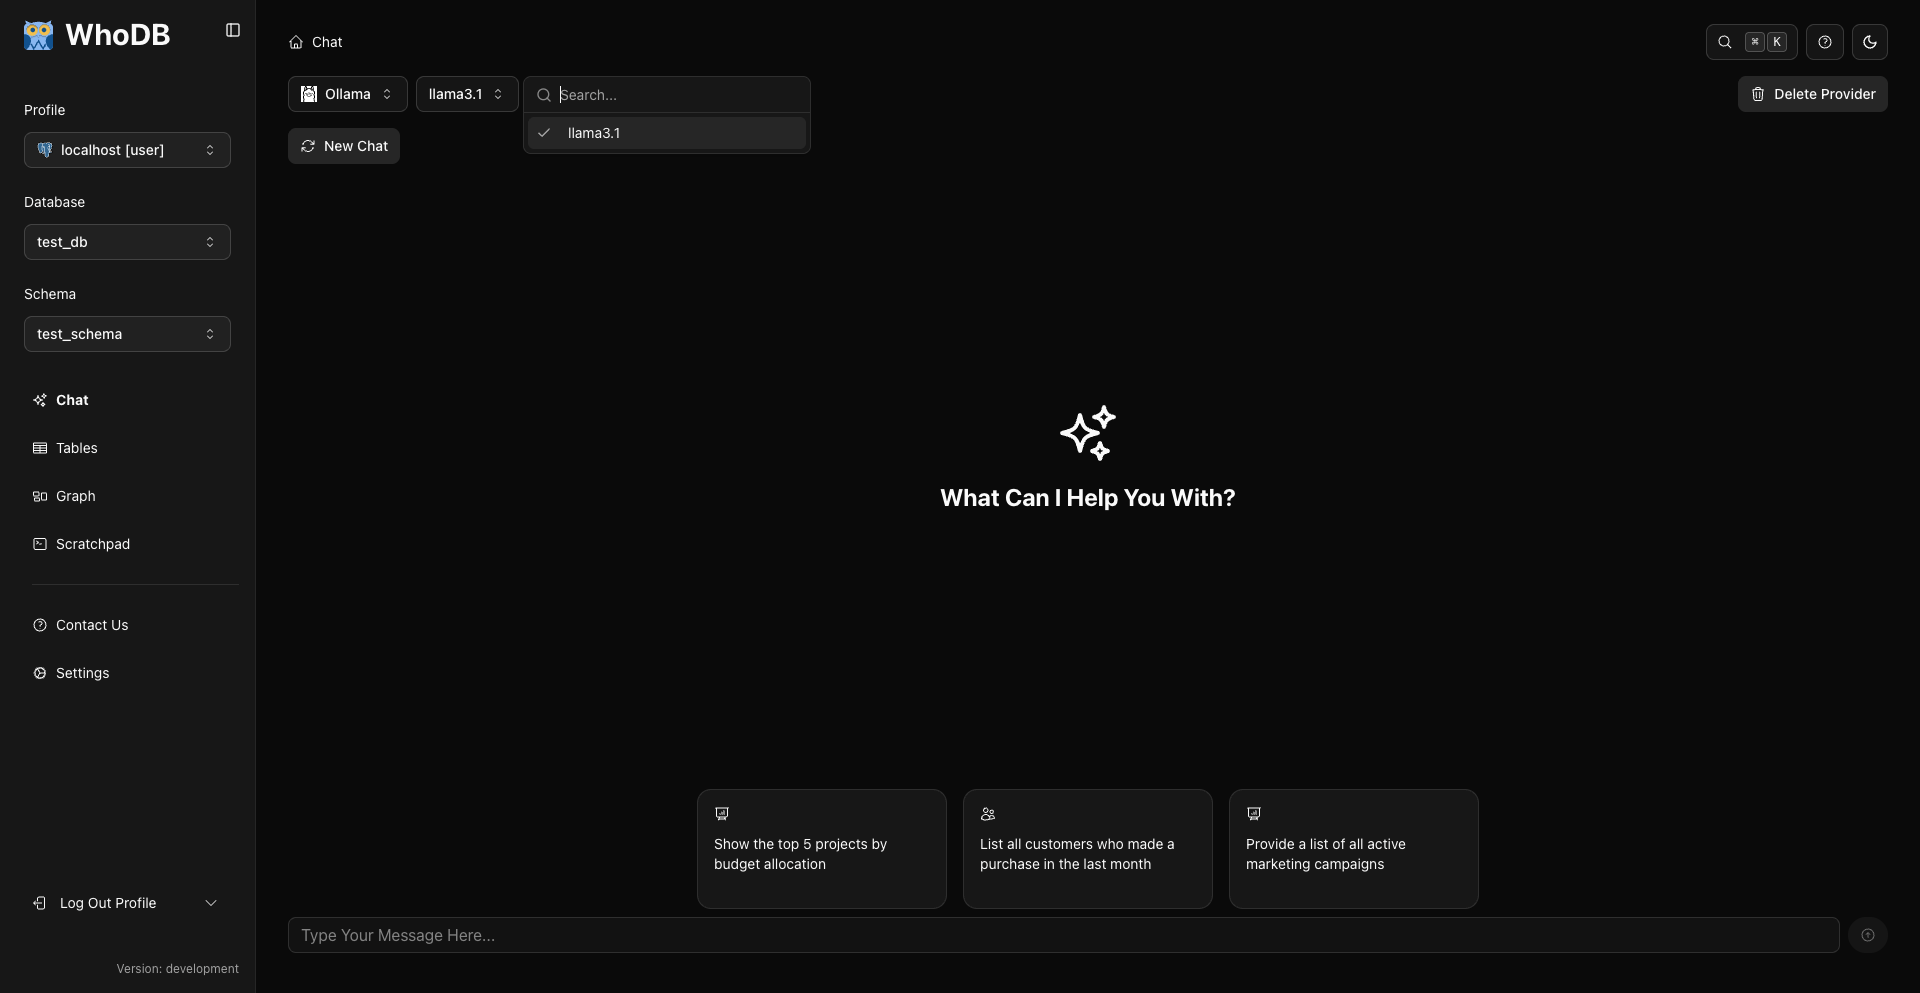
Different models offer different trade-offs:
- More capable models: Better accuracy, slightly slower
- Faster models: Quick responses, good for simple queries
- Local models (via Ollama or LM Studio): Complete privacy, speed varies by hardware
The model list is fetched from your provider, so it always reflects your provider's current lineup.
Note
For your first query, any model will work well. Don't overthink this choice—you can always change it later.
Step 3: Using Example Prompts
WhoDB provides example prompts to help you understand what kinds of questions you can ask:
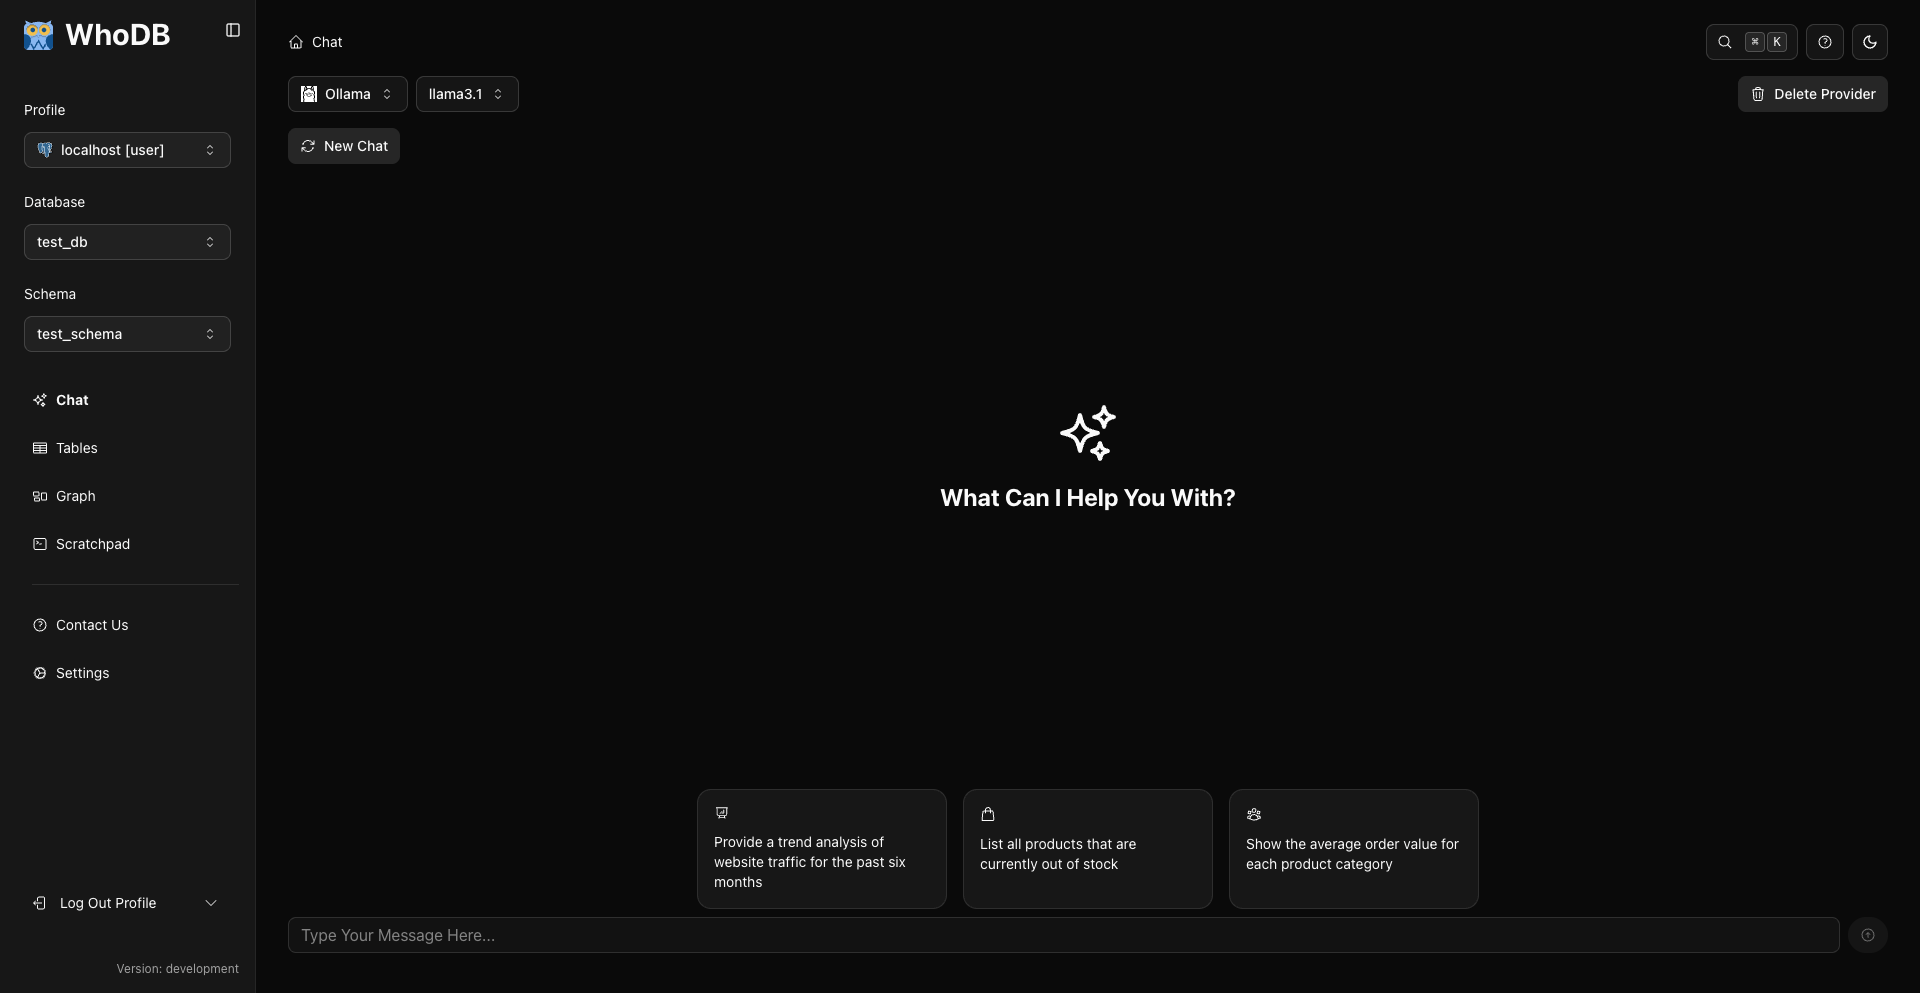
These examples demonstrate different query types:
- List queries: "Show me all users"
- Filtered queries: "Find products with price greater than 100"
- Aggregation queries: "Count orders by status"
- Date-based queries: "Show orders from last month"
Click any example prompt to see how it works. For this tutorial, let's start with something even simpler.
Step 4: Asking Your First Question
Let's start with the most basic question possible. In the input box at the bottom, type:
What tables exist in this database?
Press Enter or click the send button.
Within a few seconds, you'll receive a response:
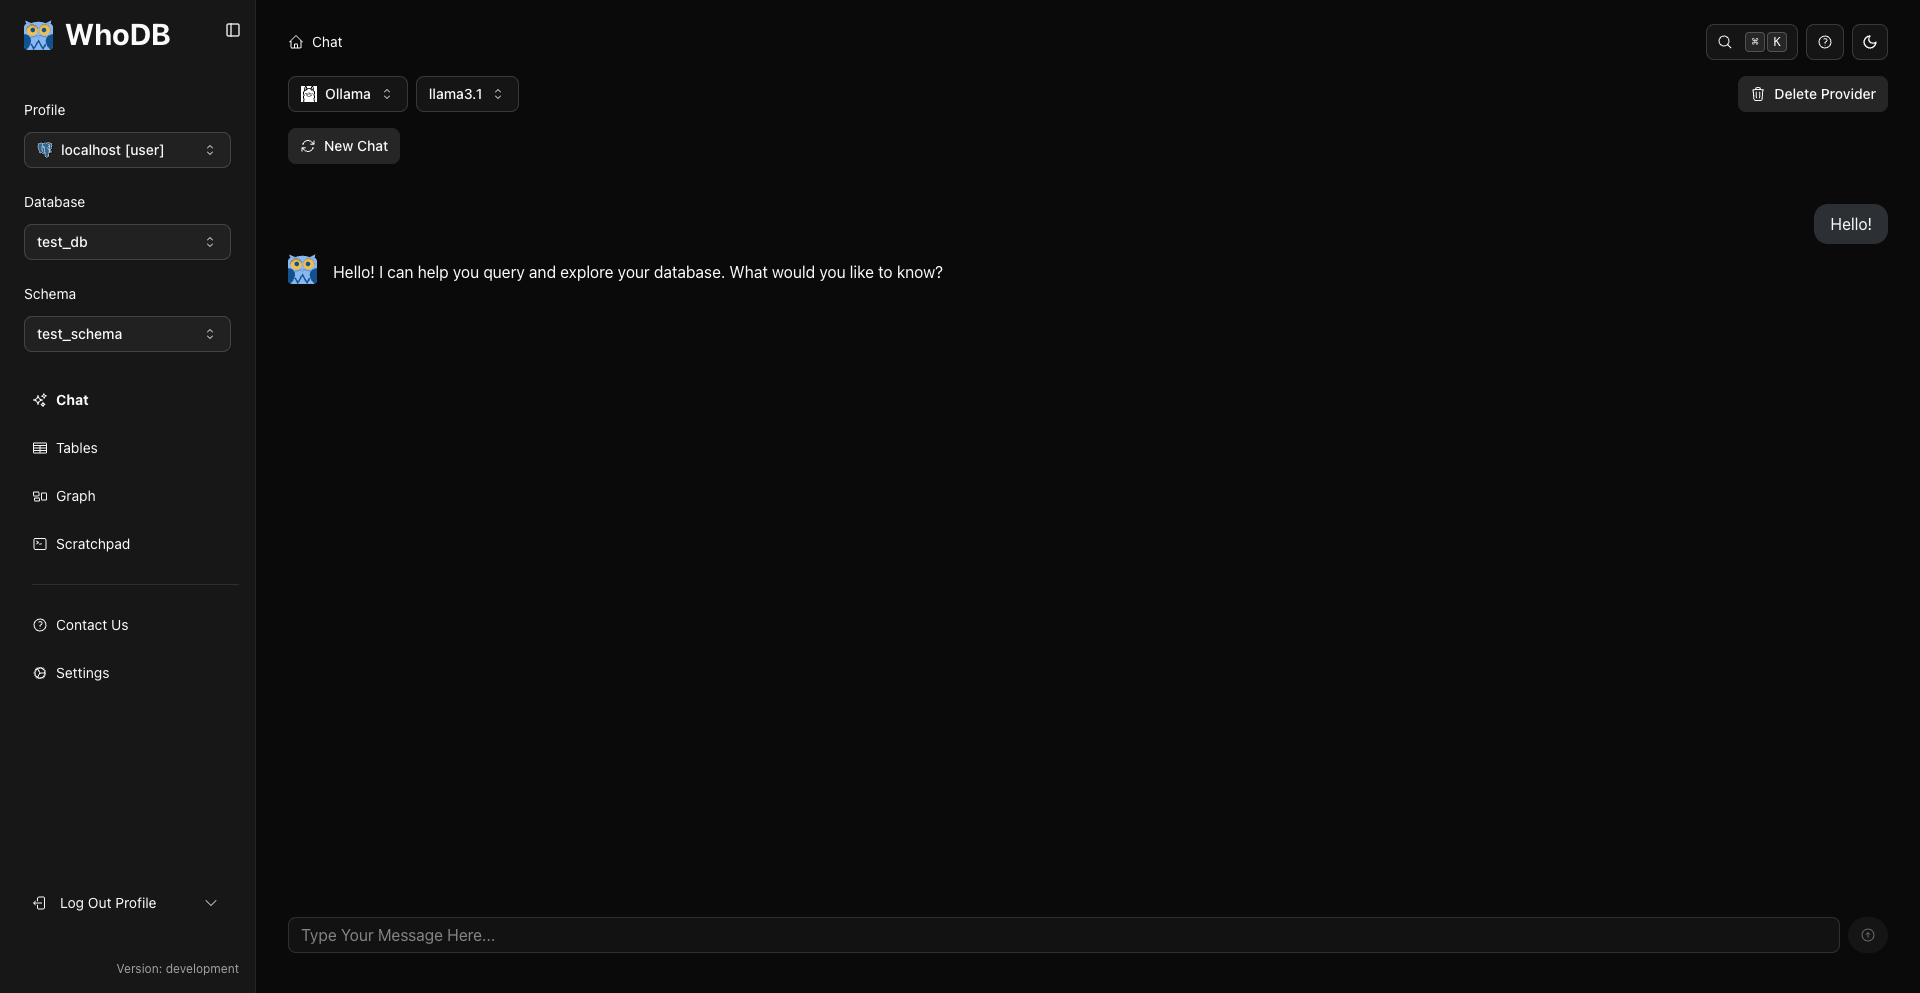
The AI will list all tables in your database, providing a clear overview of your data structure. This simple question demonstrates the AI's awareness of your database schema.
What just happened?
- Your question was sent to the AI provider
- The AI analyzed your database structure
- It generated an appropriate query (in this case, a schema query)
- The results were formatted into a readable response
Tip
Questions about database structure ("What tables exist?", "What columns are in the users table?", "How are these tables related?") are great for learning and exploration.
Step 5: Retrieving Actual Data
Now let's ask for actual data. Type this question:
Show me all users
Press Enter and watch what happens:
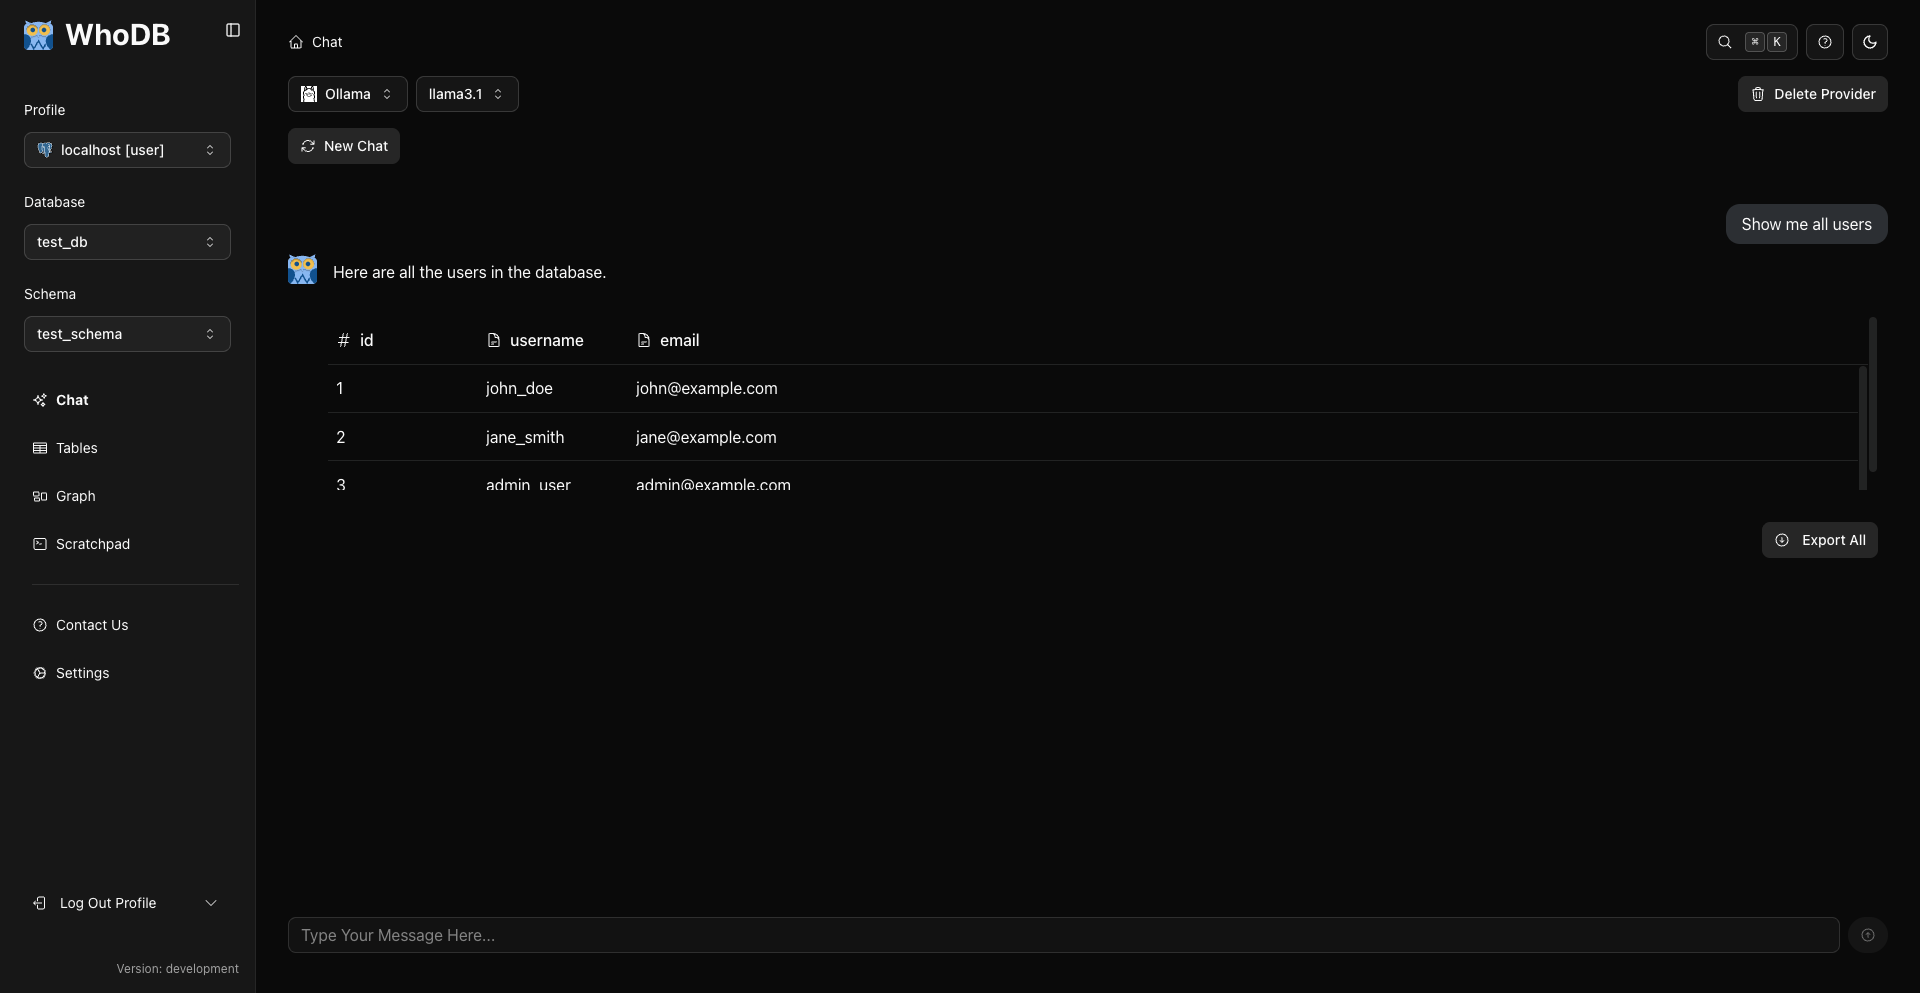
The AI understands you want data from the users table and presents results in an interactive table. You'll see:
Column Headers: The fields from your users table (id, name, email, etc.)
Data Rows: Actual user records from your database
Pagination Controls: If there are many users, results are paginated for easy browsing
Interactive Features: You can scroll, sort columns, and explore the data just like in the Data view
Check
You just retrieved data without writing any SQL. The AI understood your intent and generated the appropriate query automatically.
Step 6: Viewing the SQL Code
Want to see what SQL query the AI generated? Click the "View Code" or code toggle button above the results:
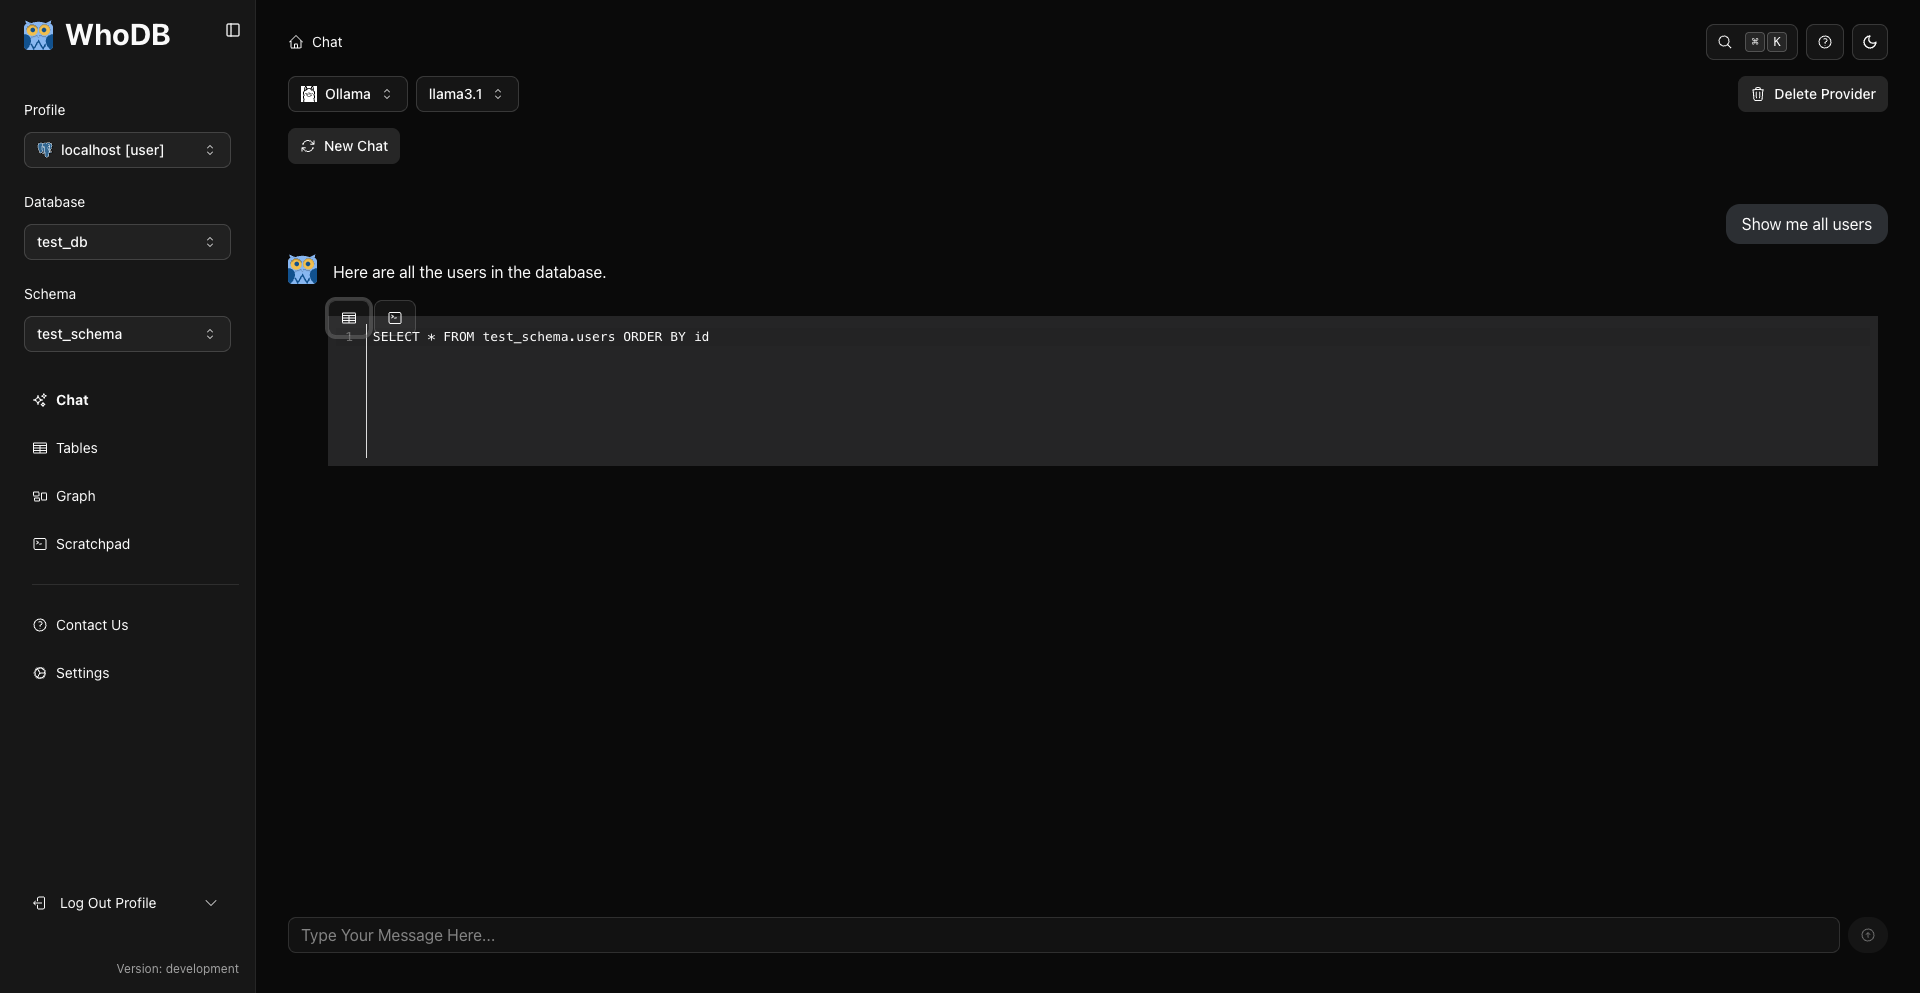
You'll see the actual SQL query that was executed:
sql
SELECT * FROM users;
This is valuable for several reasons:
- Learning SQL: See how natural language translates to SQL syntax
- Verification: Confirm the AI understood your question correctly
- Refinement: Copy and modify queries in the Scratchpad if needed
- Debugging: Understand what went wrong if results aren't what you expected
Tip
Toggle between the code view and results view to learn SQL patterns. Over time, you'll develop intuition about how questions map to queries.
Step 7: Handling Errors Gracefully
Not all questions succeed on the first try. Let's see what happens when something goes wrong. Try asking:
Show me all customers from the products table
This question has a logical inconsistency—products tables don't typically have customer data:
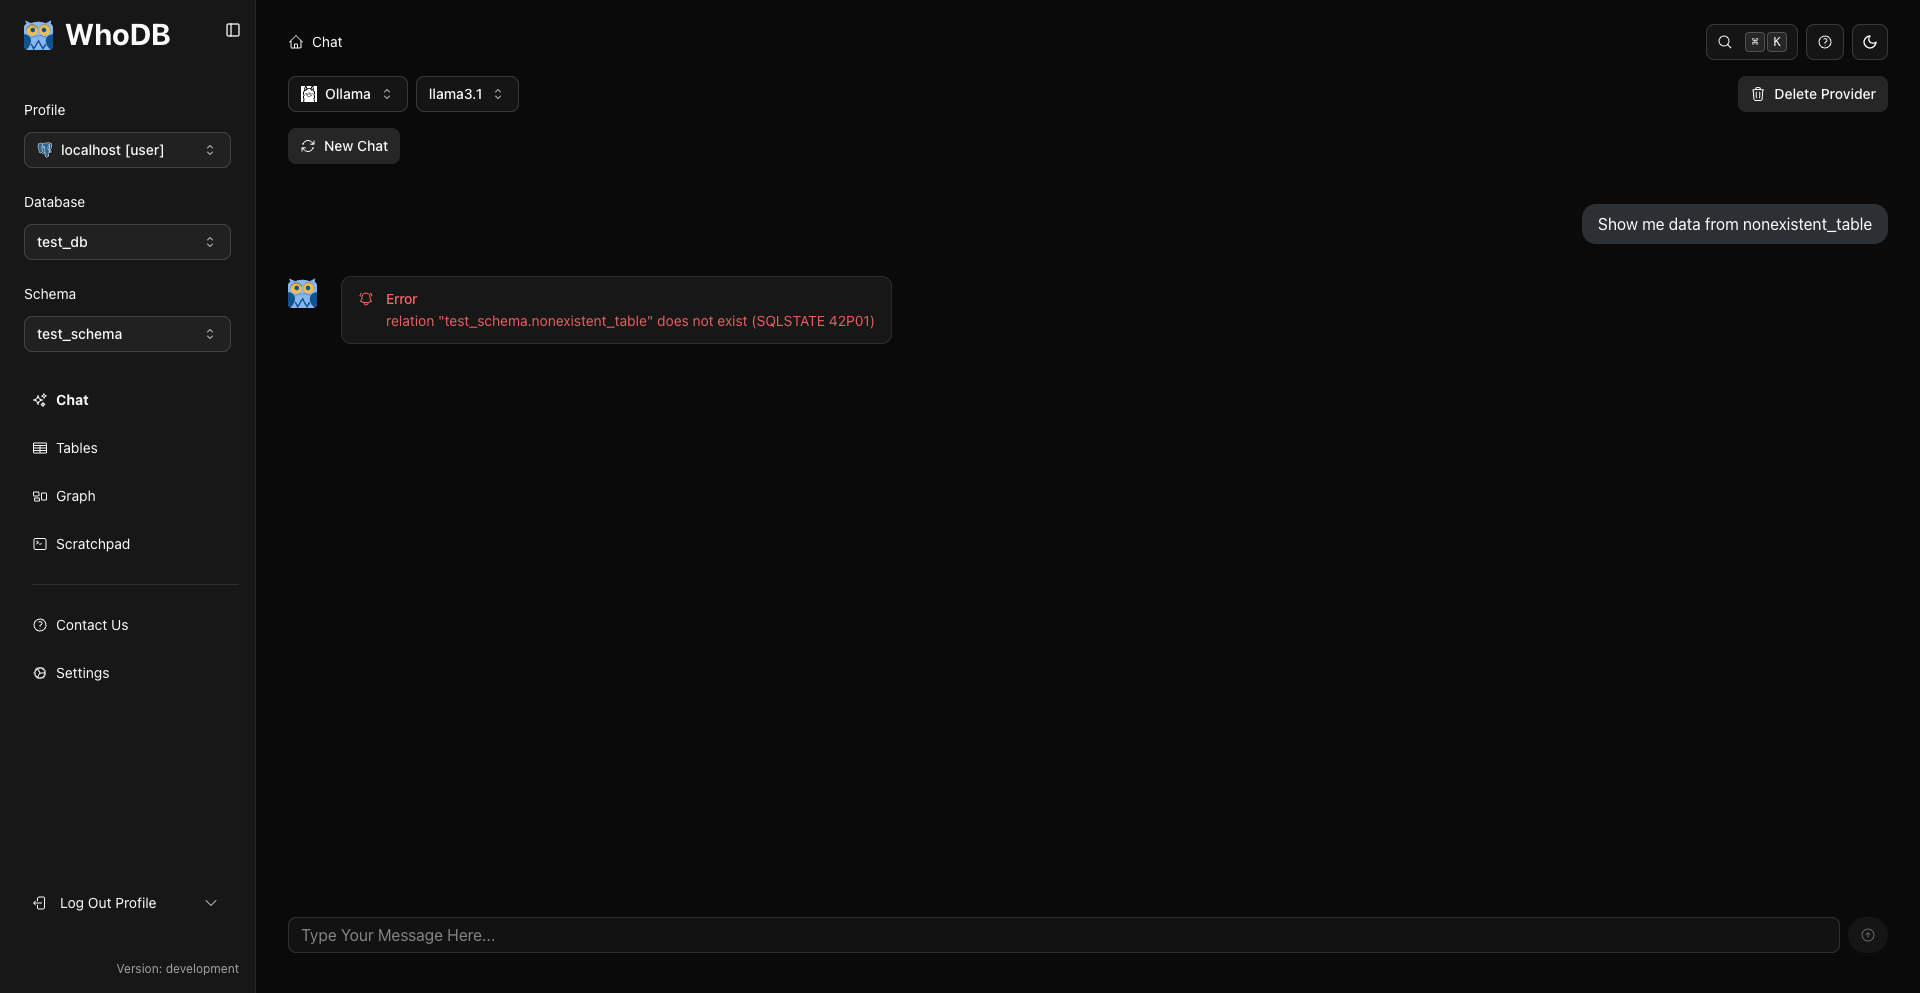
When errors occur, the AI provides helpful feedback:
- What went wrong: Clear explanation of the issue
- Why it failed: Context about the error
- How to fix it: Suggestions for rephrasing or correcting the query
Common error scenarios:
- Ambiguous questions: "Show me the data" (which table?)
- Invalid operations: Asking for columns that don't exist
- Logic errors: Combining incompatible filters
- Permission issues: Requesting operations your database user can't perform
Note
Errors are learning opportunities. Read the error message carefully—it often tells you exactly how to fix your question.
Step 8: Asking Follow-Up Questions
The real power of the AI assistant comes from conversation. The AI remembers your previous questions, enabling natural follow-ups.
After asking "Show me all users", try this follow-up:
How many are there?
The AI understands "there" refers to users from your previous question:
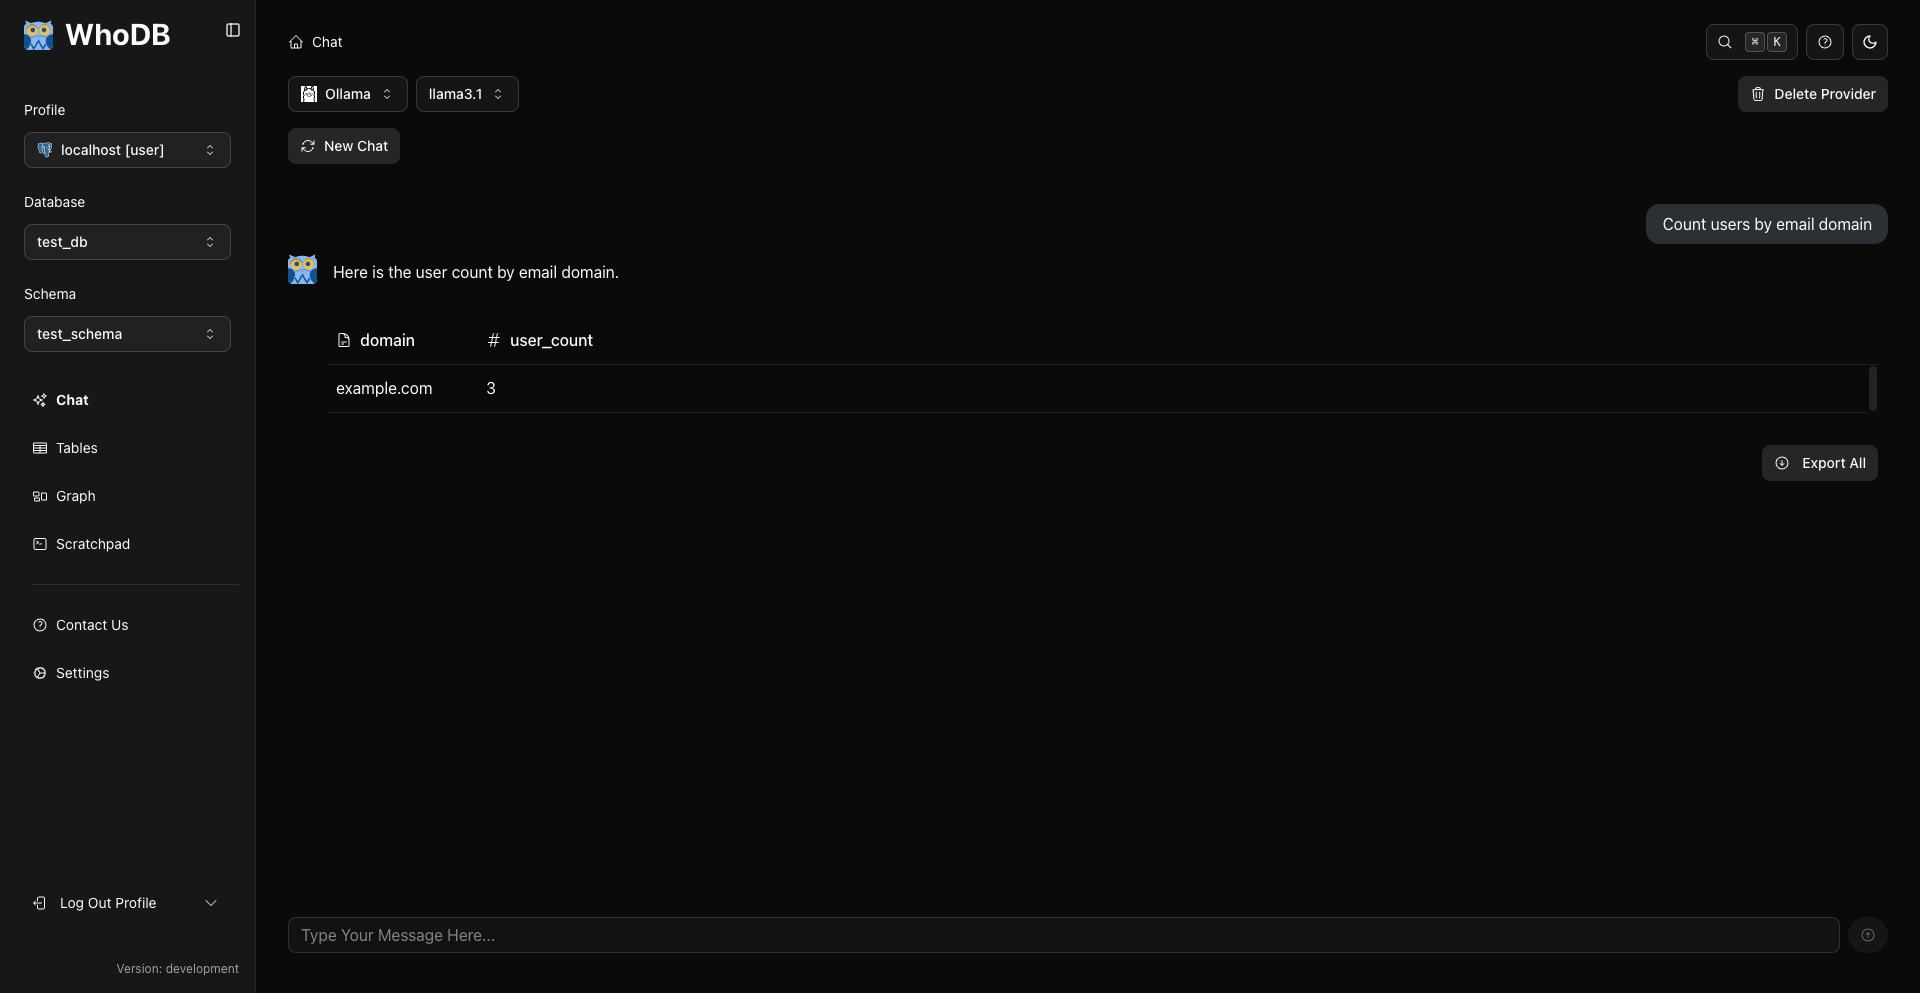
The response shows a count of total users. Notice you didn't need to repeat "users"—the AI maintained context from your conversation.
More follow-up examples:
After viewing users:
- "Show only active ones" (filters to active users)
- "Sort by creation date" (reorders results)
- "What about users from last month?" (adds date filter)
Each question builds on the previous context, creating a natural exploration flow.
Tip
Think of the AI as a knowledgeable colleague sitting next to you. Have a conversation rather than asking isolated questions.
Step 9: Filtering and Refining Results
Let's practice refining queries with specific criteria. Ask:
Show me users created in the last 7 days
The AI generates a query with date filtering and displays recent users. The results are automatically filtered to match your timeframe criteria.
Try more refined queries:
- "Show users with gmail addresses"
- "Find users who haven't logged in for 30 days"
- "Show the 10 most recent signups"
Each question demonstrates different filtering capabilities:
- Pattern matching: Email domain filtering
- Date calculations: Relative time periods
- Sorting and limiting: Top N results
Note
You don't need to know date functions, pattern matching syntax, or sorting keywords. Just describe what you want in plain language.
Step 10: Understanding Confirmations for Changes
The AI assistant is safe by design. When you ask to modify data, it requires explicit confirmation.
Try asking:
Delete the oldest user account
Instead of immediately deleting data, you'll see:
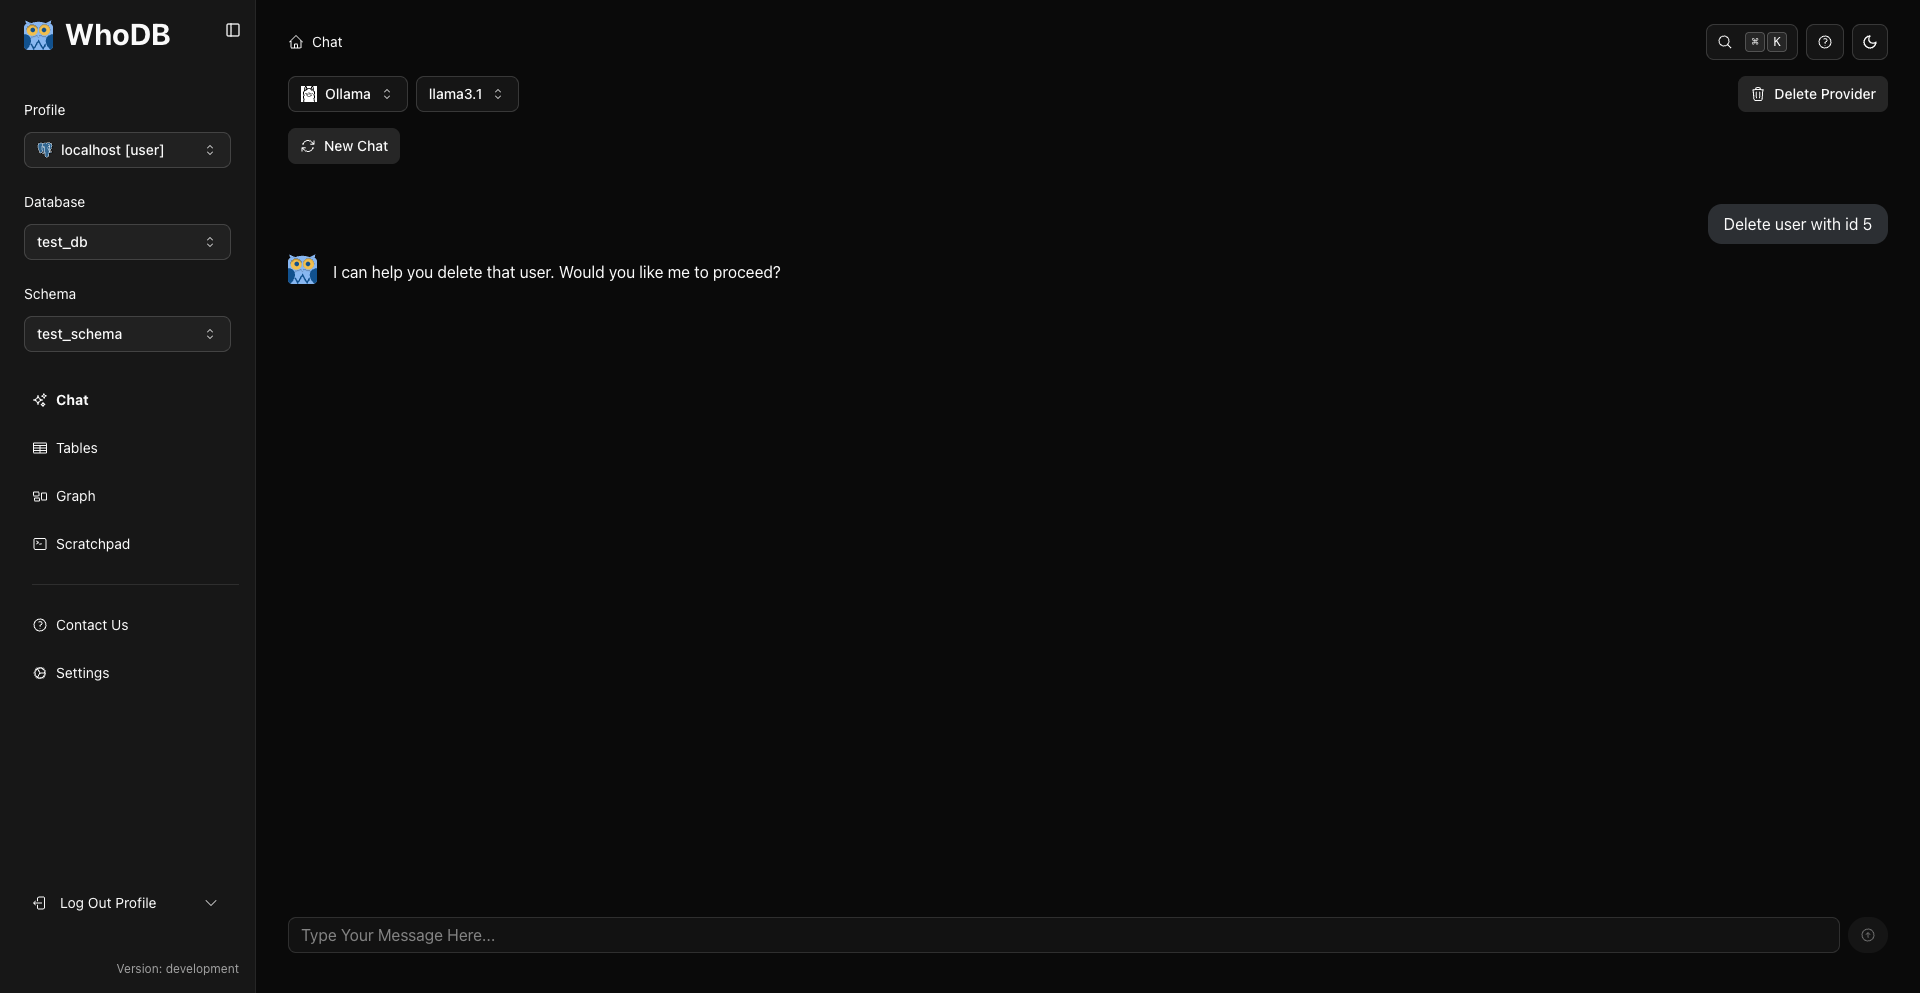
The AI shows:
- What will happen: Clear description of the action
- Which data will be affected: Preview of rows to be changed
- Confirmation required: Explicit prompt to proceed or cancel
This safety feature prevents accidental data loss. The chat displays inline Confirm and Cancel buttons with the pending action — click Confirm to execute it, or Cancel to abort.
Warning
Always review confirmation prompts carefully before confirming deletions or updates. These operations cannot be undone.
After confirming:
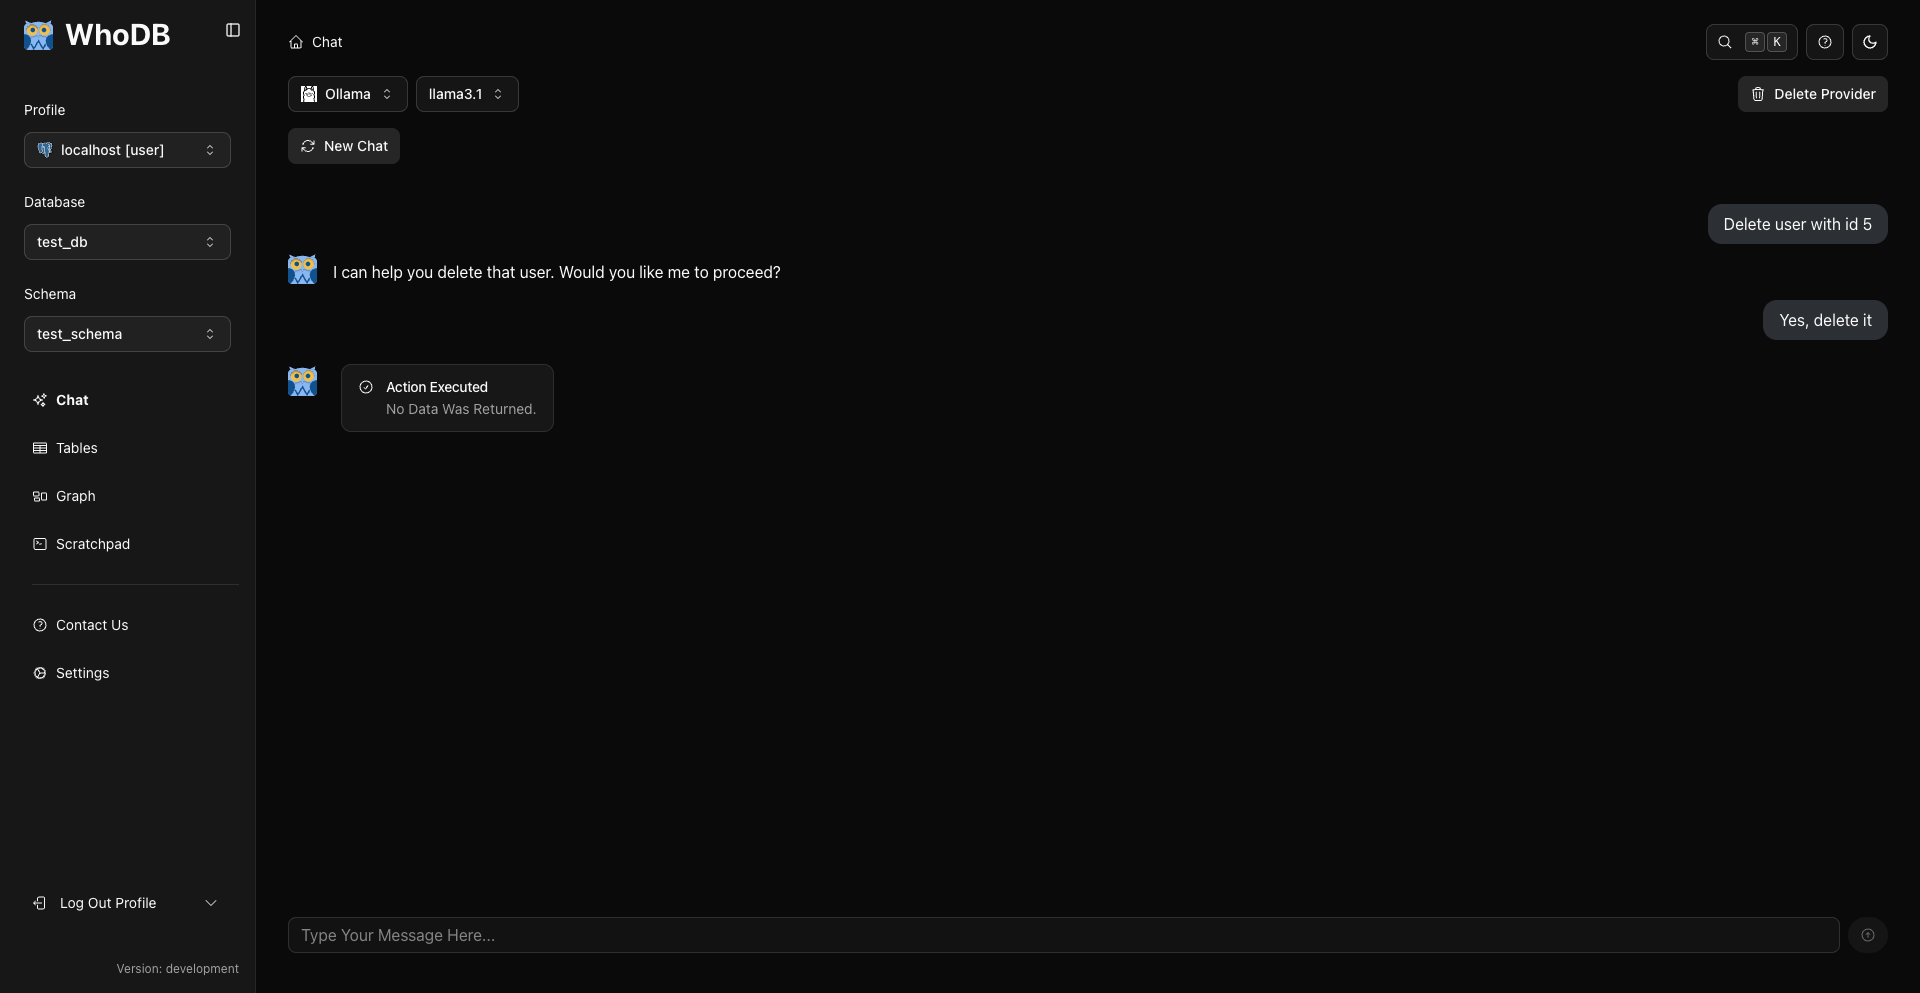
The AI confirms the action was executed and shows how many rows were affected.
Step 11: Building a Multi-Message Conversation
Let's see how a real exploration session might flow with multiple related questions:
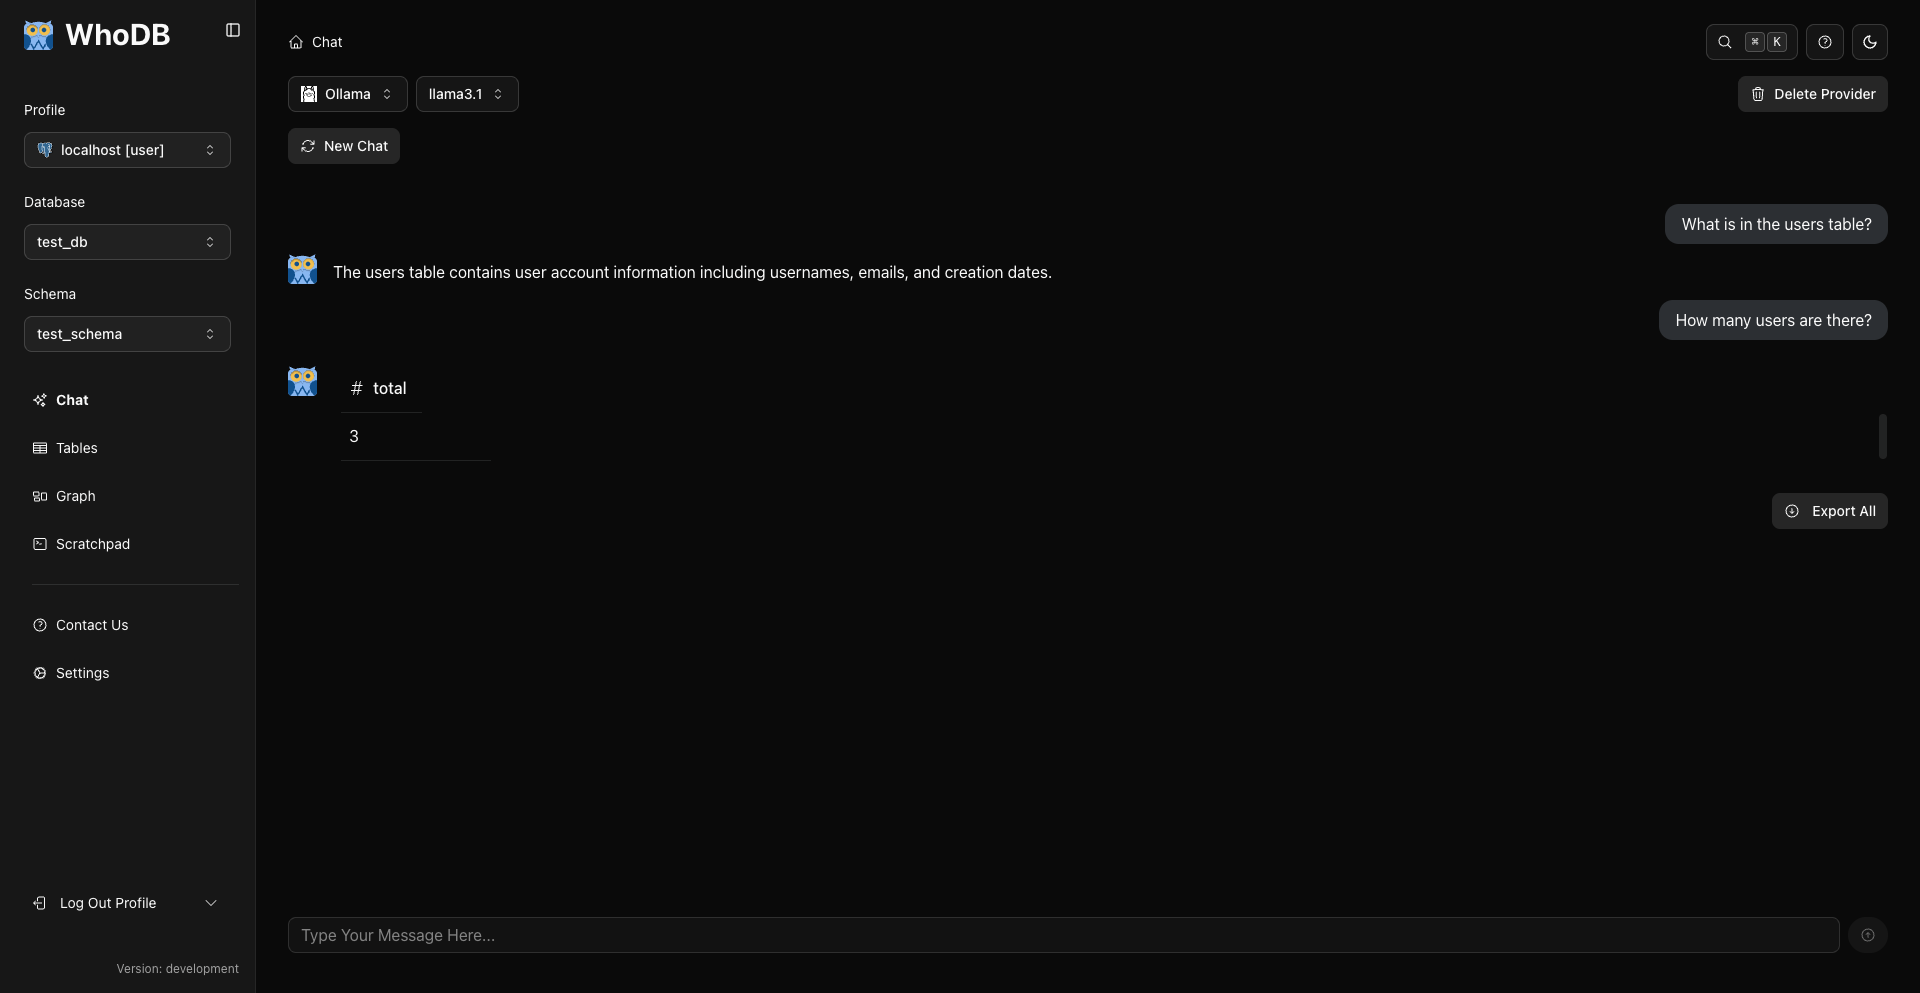
A typical conversation might look like:
You: "What tables are related to orders?"
AI: Lists tables with foreign key relationships to orders
You: "Show me the most recent 5 orders"
AI: Displays last 5 orders with all columns
You: "What's the total value of these orders?"
AI: Calculates and shows the sum
You: "Show me the customer details for these orders"
AI: Joins orders with customers table, showing combined data
This conversation demonstrates:
- Context preservation: Each question builds on previous ones
- Progressive refinement: Starting broad, then getting specific
- Natural flow: Questions you'd naturally ask when exploring data
Check
The AI maintains conversation context throughout your session, enabling natural, iterative exploration.
Step 12: Moving Queries to Scratchpad
When you find a useful query, you might want to save it or modify it further. Click the "Move to Scratchpad" option on any AI response:
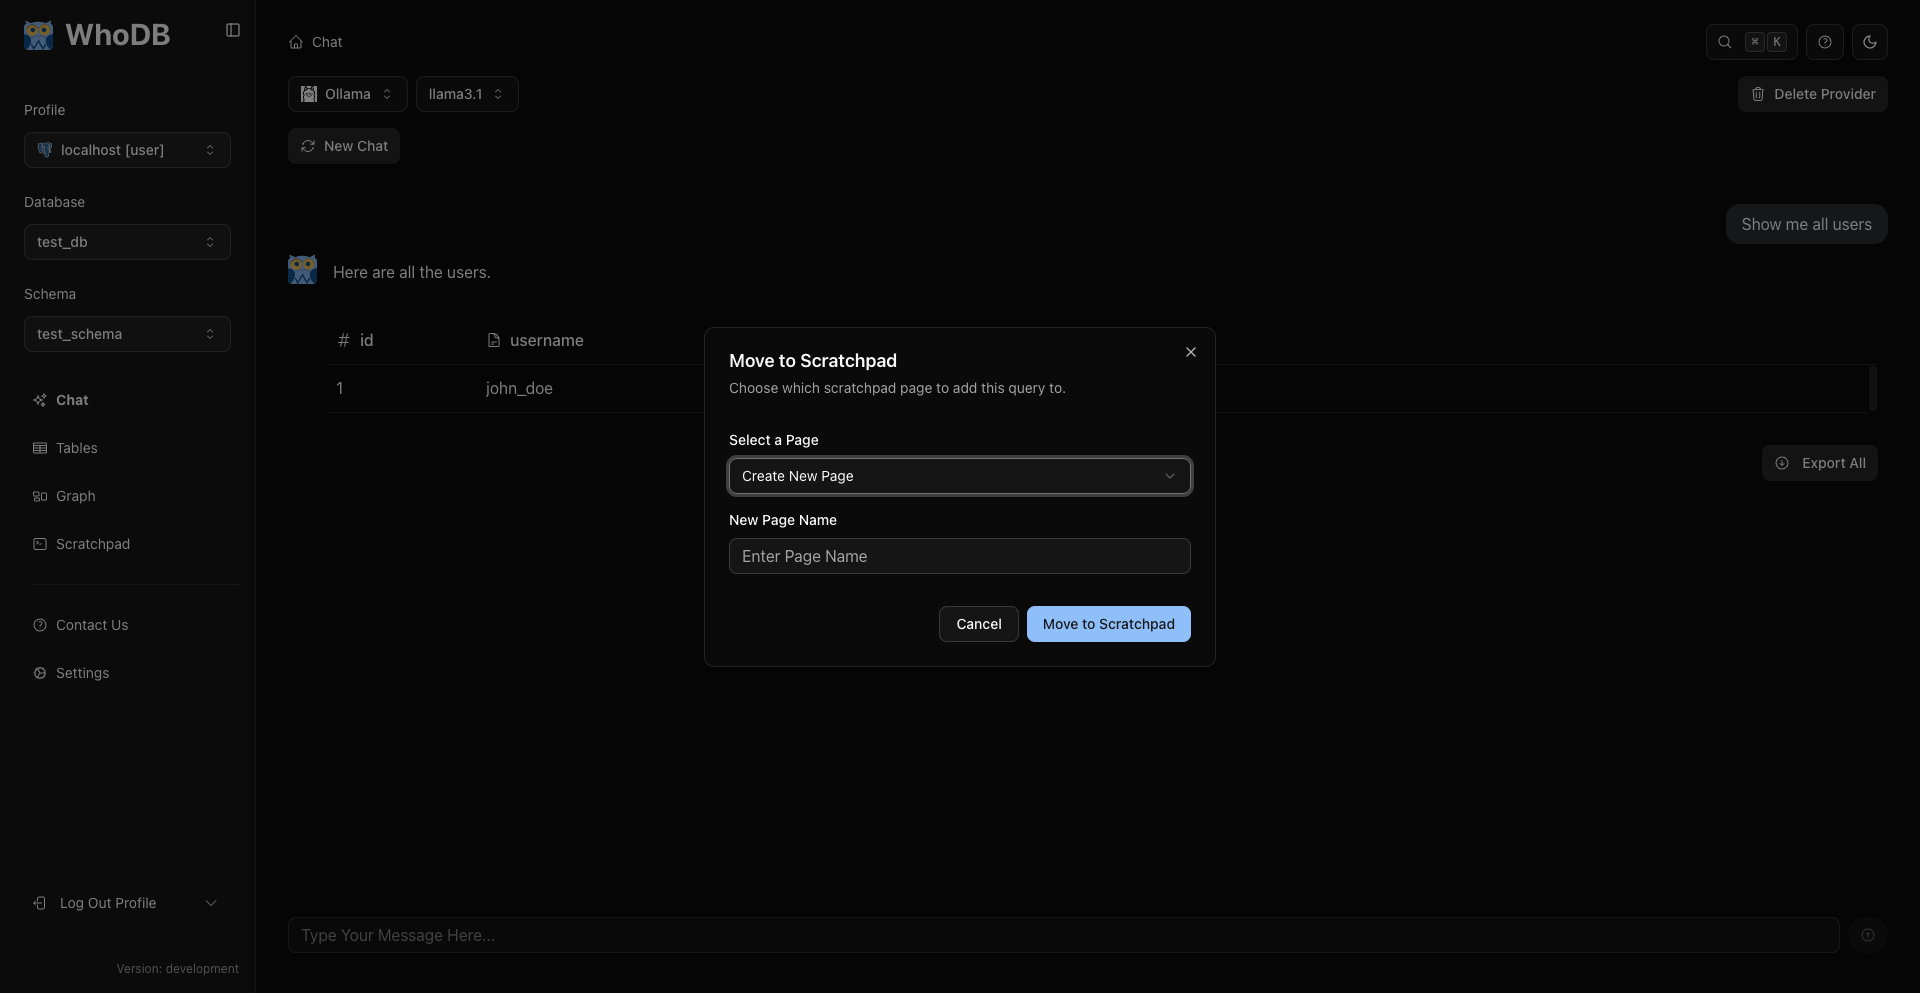
A dialog appears where you choose the destination:
- Select an existing Scratchpad page, or
- Enter a name to create a new page
After moving to Scratchpad, you can:
- Edit and refine the SQL manually
- Save the query for future use
- Combine it with other queries
- Execute it repeatedly with modifications
This bridges AI exploration with traditional SQL workflow, giving you the best of both worlds.
Step 13: Starting a New Chat
Each conversation session maintains its own context. When you want to start fresh, click the "New Chat" button:
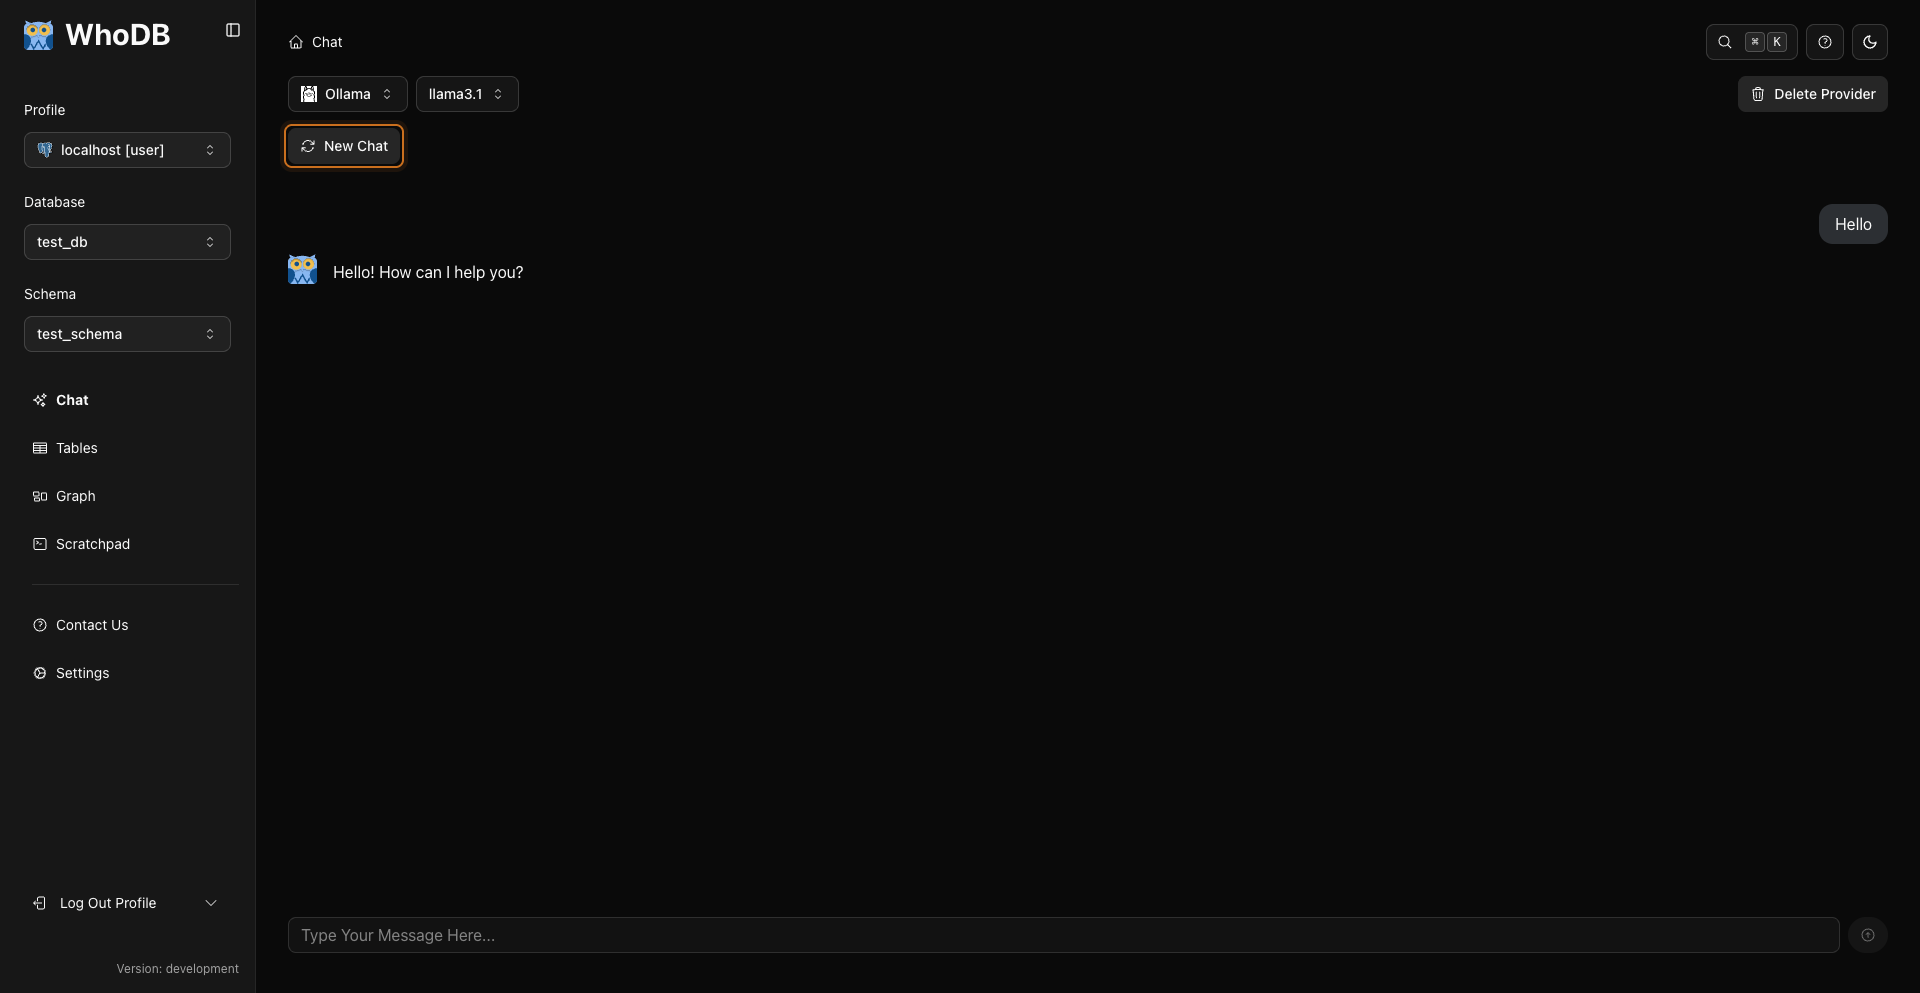
This clears the conversation history and starts a new session. Use this when:
- Switching to a completely different topic
- Context from previous questions is confusing the AI
- You want a clean slate for a new analysis
Note
Move important queries to Scratchpad before starting a new chat if you want to reference them later.
Best Practices for AI Queries
Common First-Time Questions
When starting with the AI assistant, these questions are particularly useful:
- "What tables exist?"
- "Describe the users table"
- "How are orders and customers related?"
- "Show me all column names in products"
- "Show me 10 sample rows from users"
- "What does the data in products look like?"
- "Show me a few examples from orders"
- "Are there any NULL values in the email column?"
- "How many users have incomplete profiles?"
- "Find duplicate email addresses"
- "How many total users are there?"
- "What's the average order value?"
- "Count products by category"
Troubleshooting Common Issues
What You Learned
In this tutorial, you successfully:
- Navigated to the Chat interface
- Understood the Chat page layout and controls
- Verified your AI provider configuration
- Asked questions in natural language
- Retrieved data without writing SQL
- Viewed and understood generated SQL code
- Handled errors and learned from them
- Used conversation context for follow-up questions
- Applied filters and refinements naturally
- Understood safety confirmations for data changes
- Built multi-turn conversations
- Moved useful queries to Scratchpad
Check
You've completed your first AI-powered database exploration. These fundamentals apply to all future interactions with the AI assistant.
Next Steps
Now that you're comfortable with basic AI queries, explore more advanced capabilities:
Congratulations
You've taken your first steps into AI-powered database interaction. The skills you learned here—asking clear questions, interpreting responses, refining through conversation—will serve you well as you explore more complex queries and analysis tasks.
Remember: the AI assistant is a tool to augment your capabilities, not replace your judgment. Use it to explore faster, learn SQL patterns, and focus on insights rather than syntax. With practice, you'll develop intuition about how to phrase questions effectively and when to leverage AI assistance versus traditional SQL.
Tip
The best way to improve is practice. Try asking different types of questions about your data. Each interaction teaches you more about both your database and how to communicate with the AI assistant.
Previous
Next