
Create a managed entity
Where: sidebar → Entities → the plus control or Create Entity. You need permission to create resources in the project.
Entities are WhoDB-managed business records. In the current implementation, directly attaching an entity to an external source with a source ID is disabled. To bring database rows into the model, create the managed entity and import records with a transform.
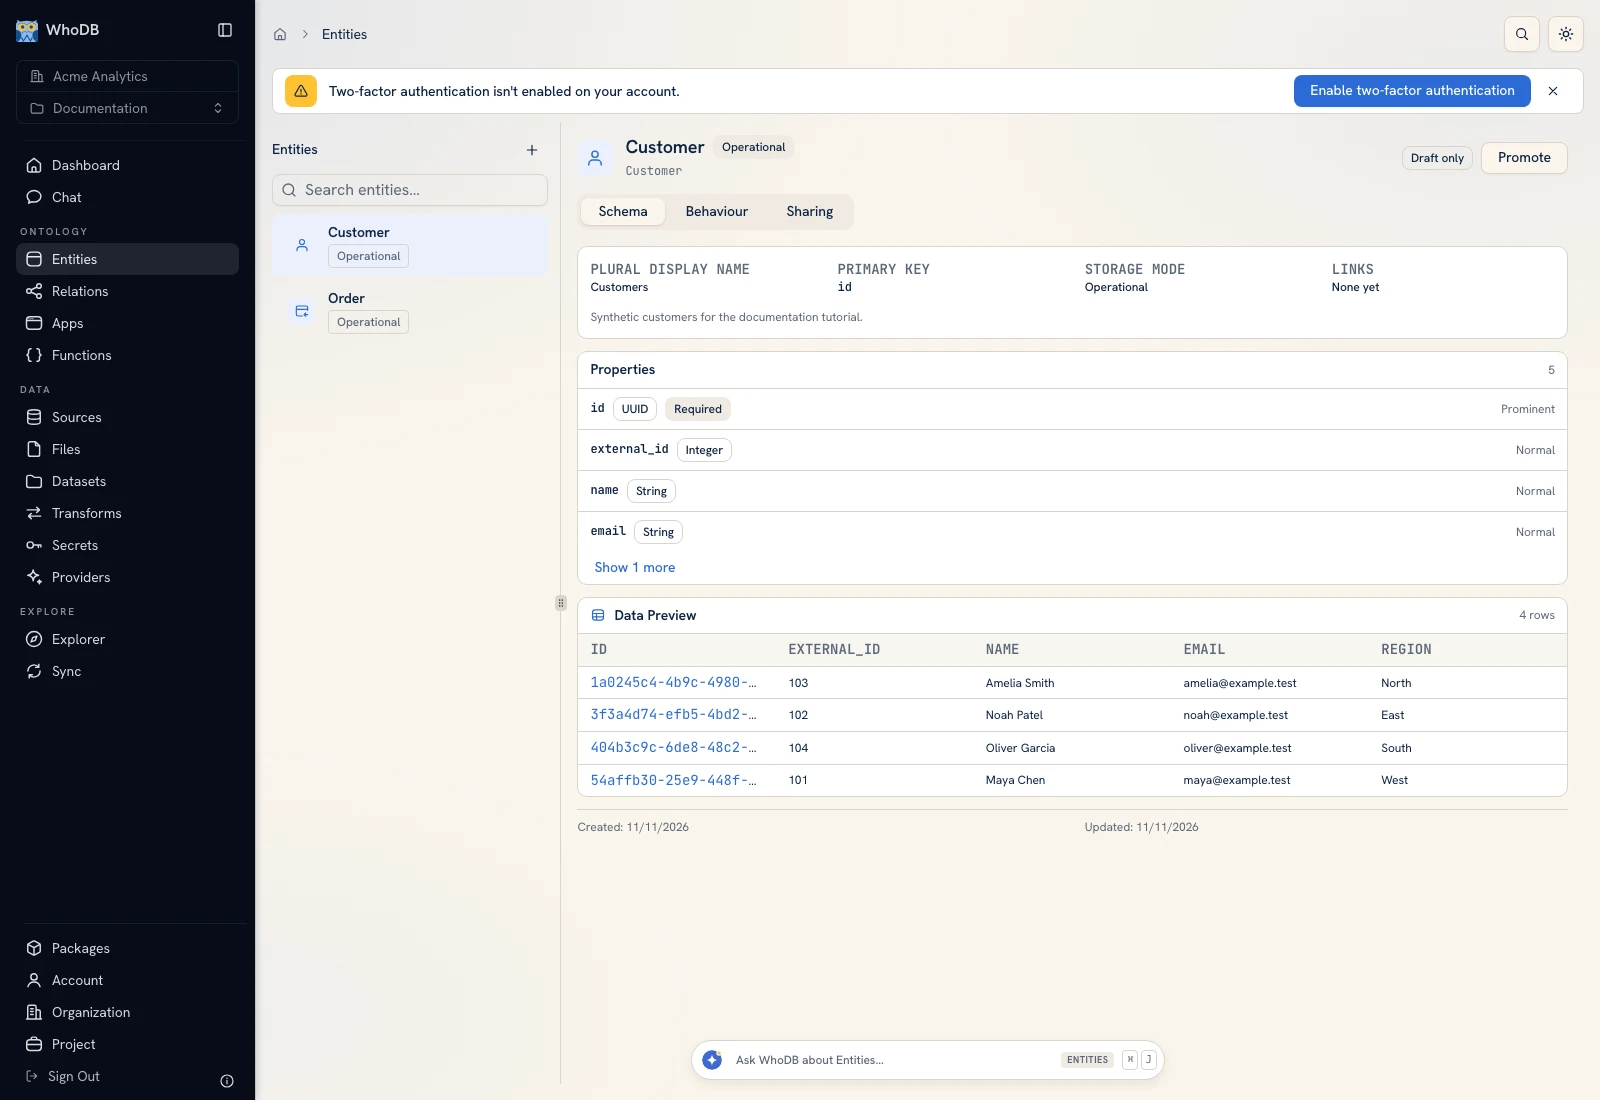 The Documentation project contains Customer and Order entity types.
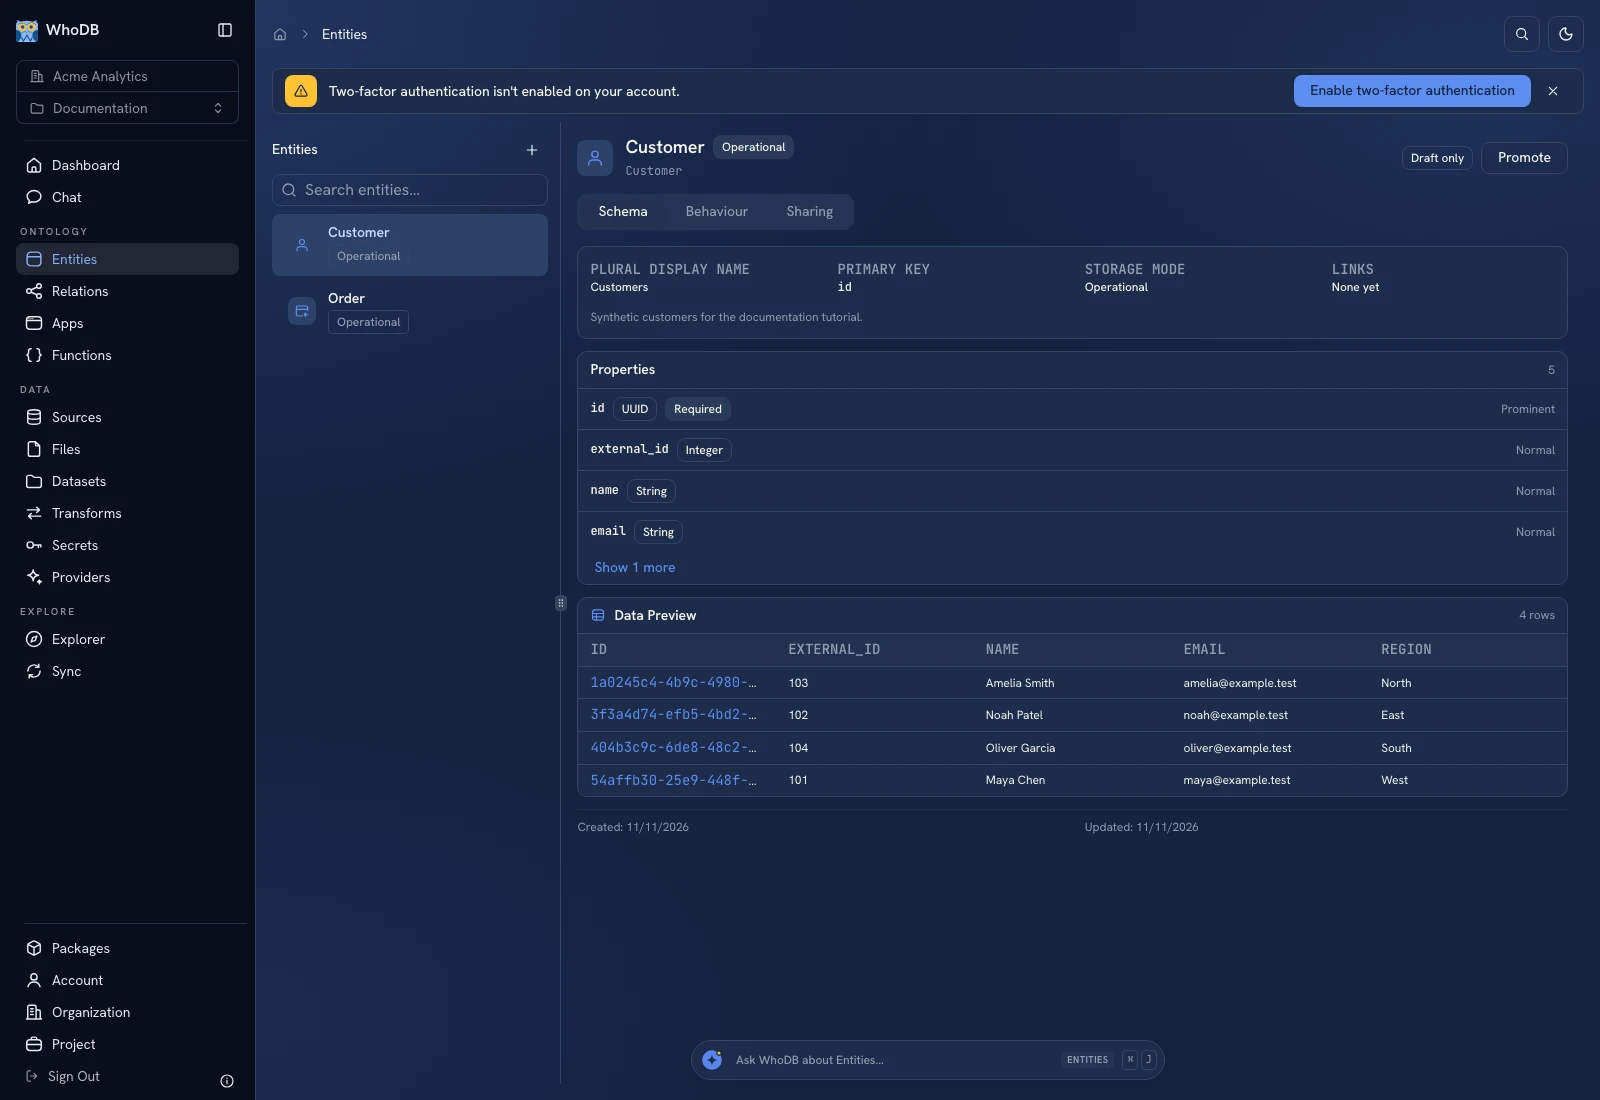 The Documentation project contains Customer and Order entity types.
Step 1: Basics#
- Click the create control.
- Enter the entity's display name and API name. The display name is what people read; the API name is its identifier for queries and bindings.
- Check the plural display name.
- Choose Operational or Analytical storage. This cannot be changed after creation.
- Choose an icon and color for recognition.
- Click Continue.
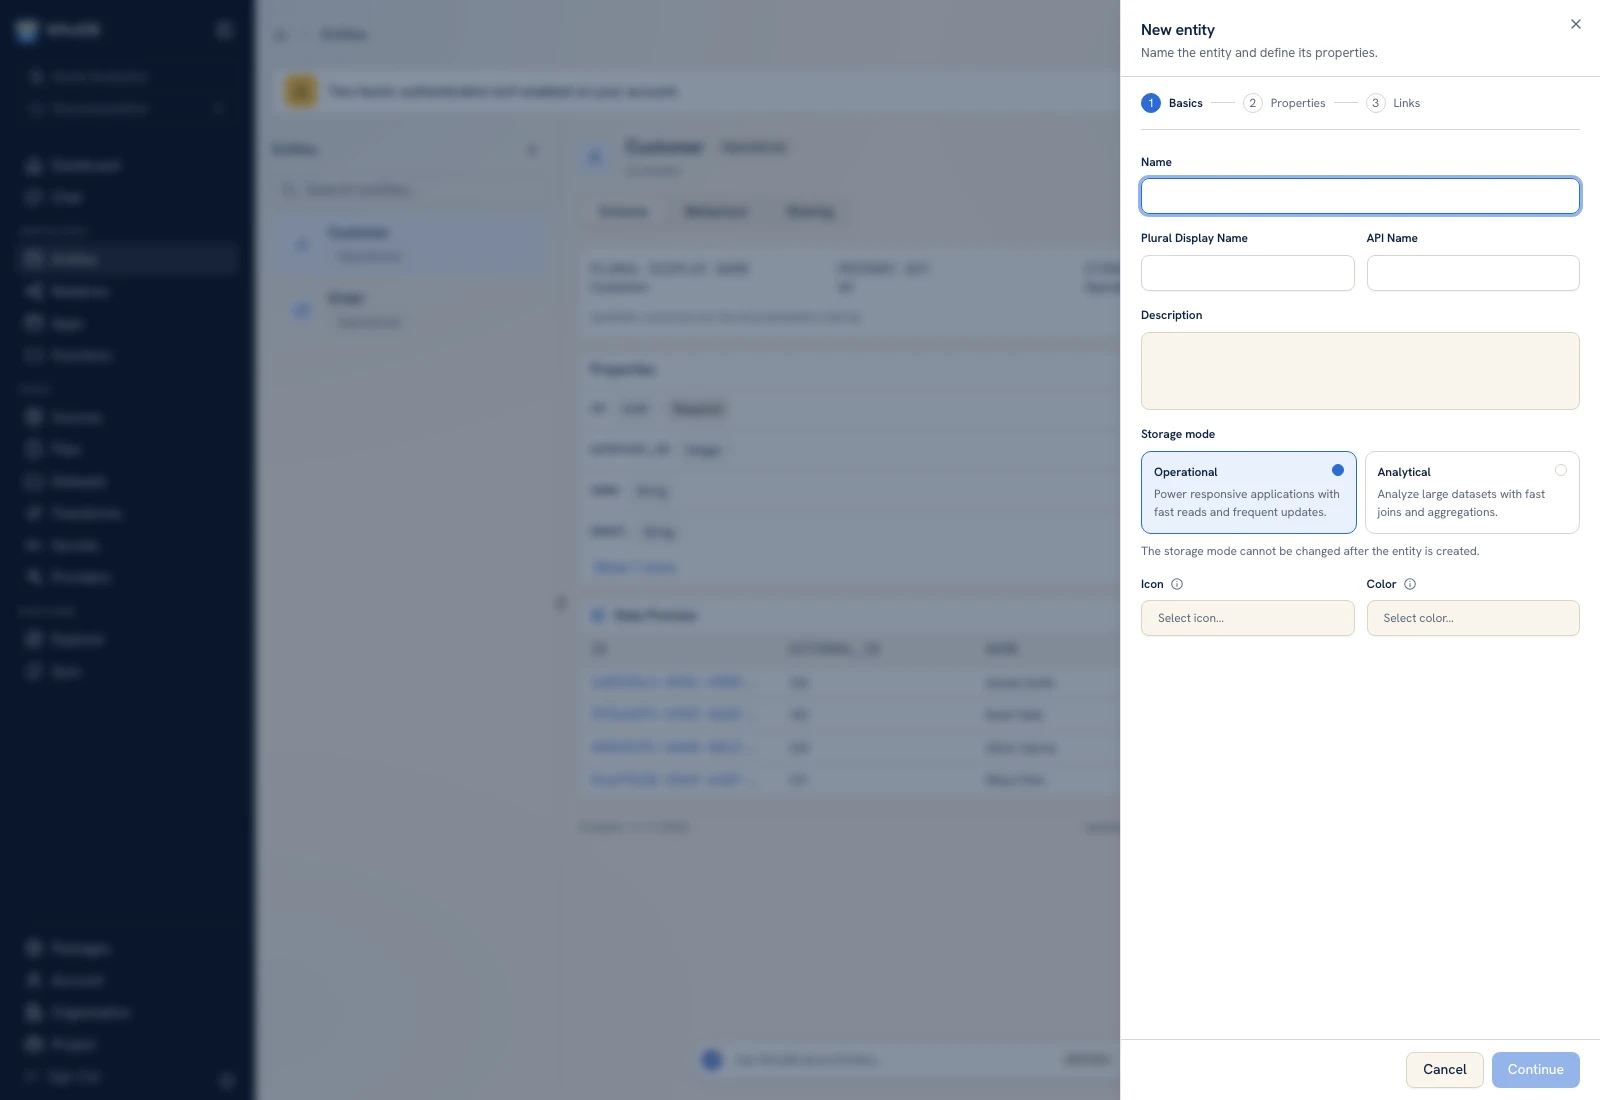 The Basics step defines the name, identity, and storage of a new managed entity.
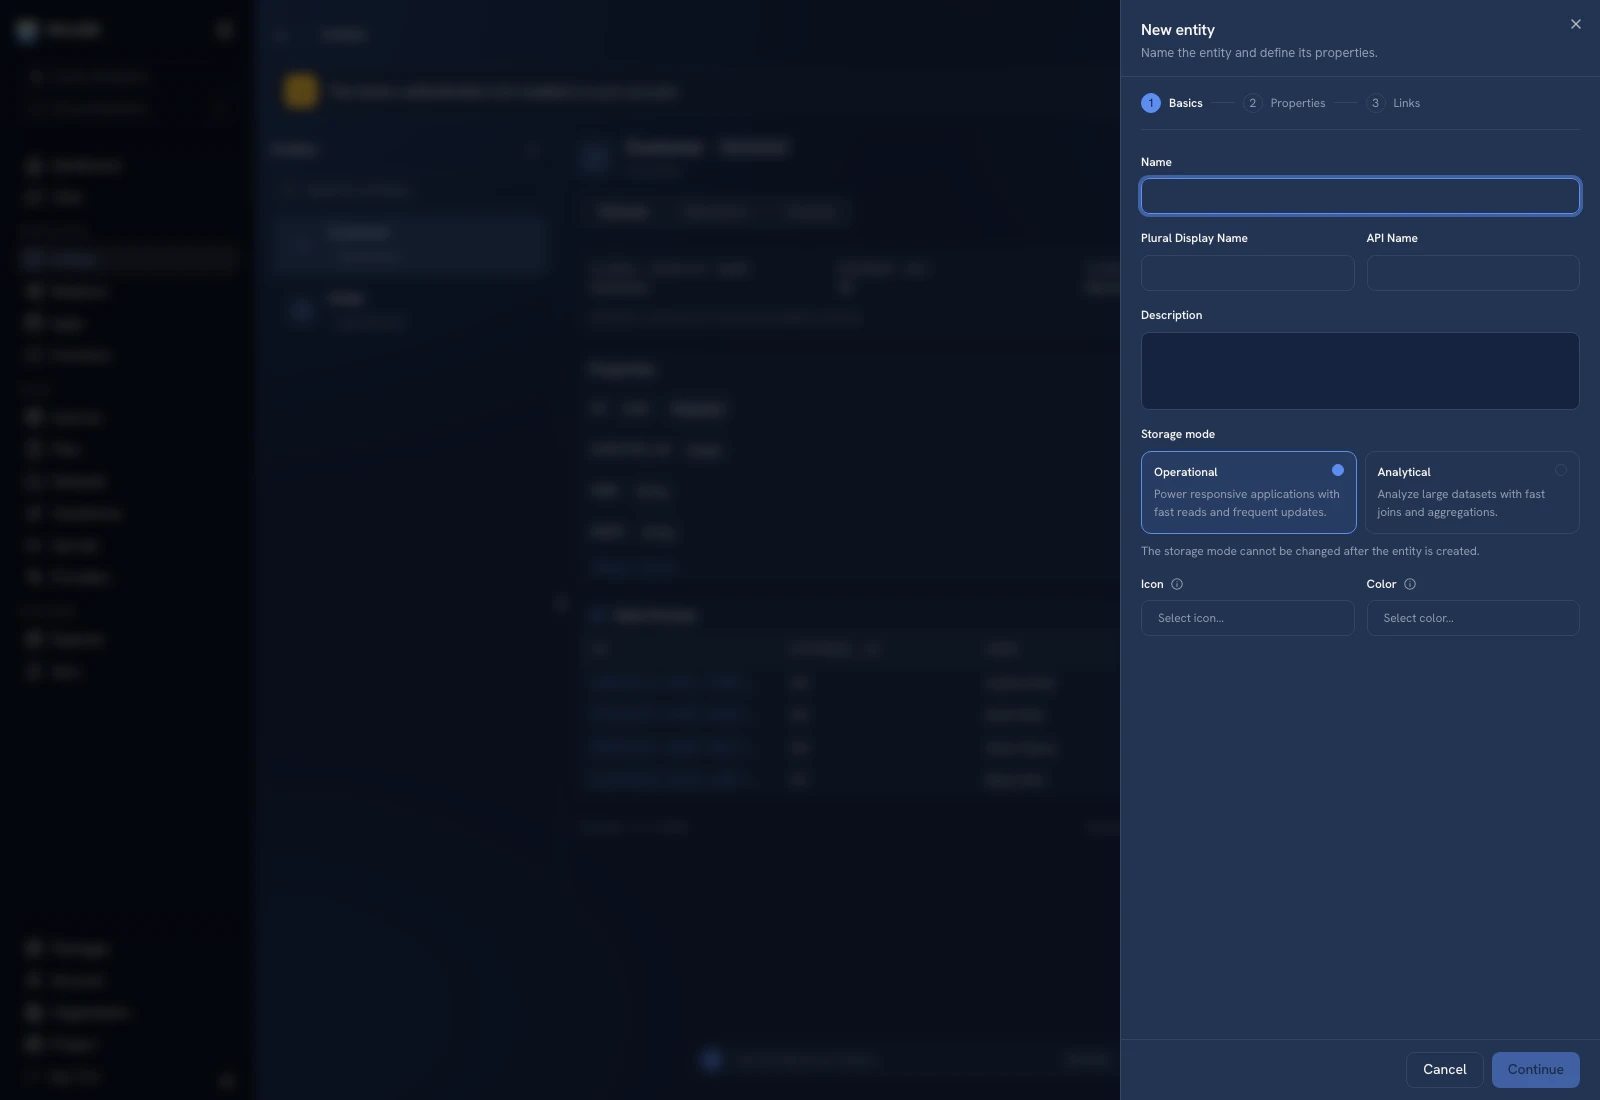 The Basics step defines the name, identity, and storage of a new managed entity.
Use a clear API identifier and check it before creation; the UI describes it as immutable. A new managed entity includes an id property of type UUID. Add business identifiers as other properties rather than assuming an external integer ID must replace the managed record identity.
Step 2: Properties#
Click Add Property for each business field. Enter its API name, display name, column name, and data type. Configure required, visibility, search, and sort behavior where shown. For an order model, start with fields such as external_id, customer_id, status, total, and ordered_at.
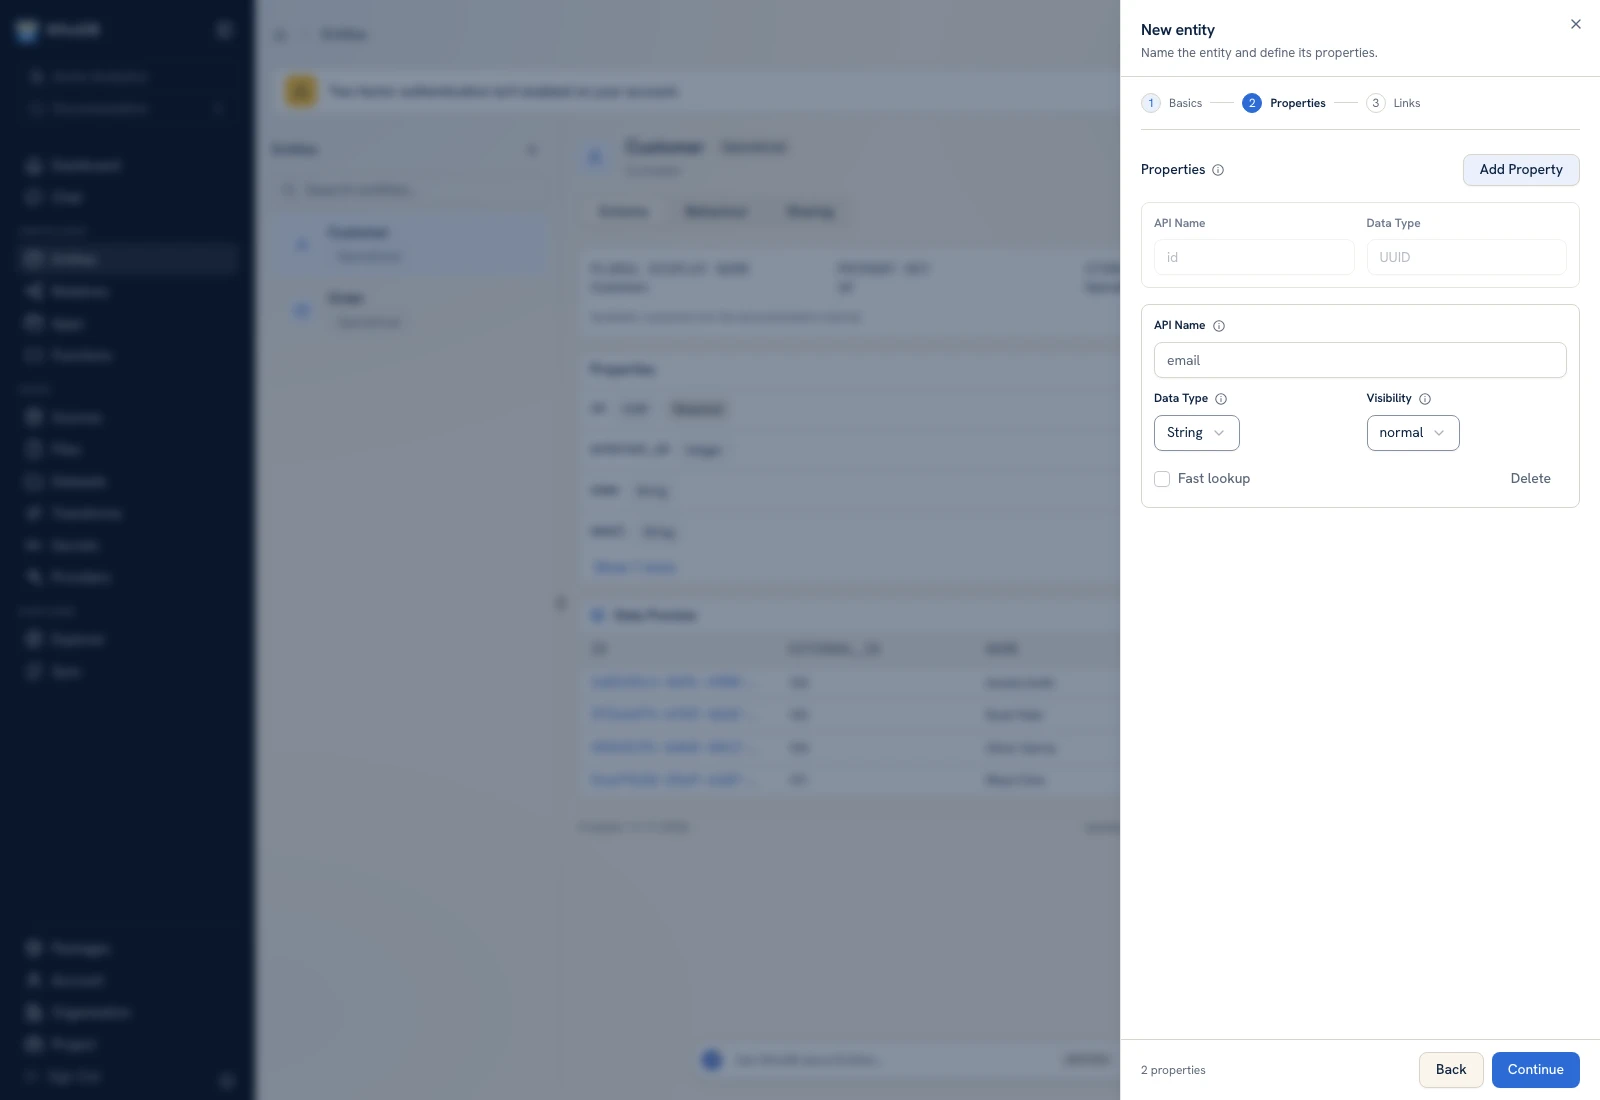 The Properties step defines fields and the options that control how they are exposed.
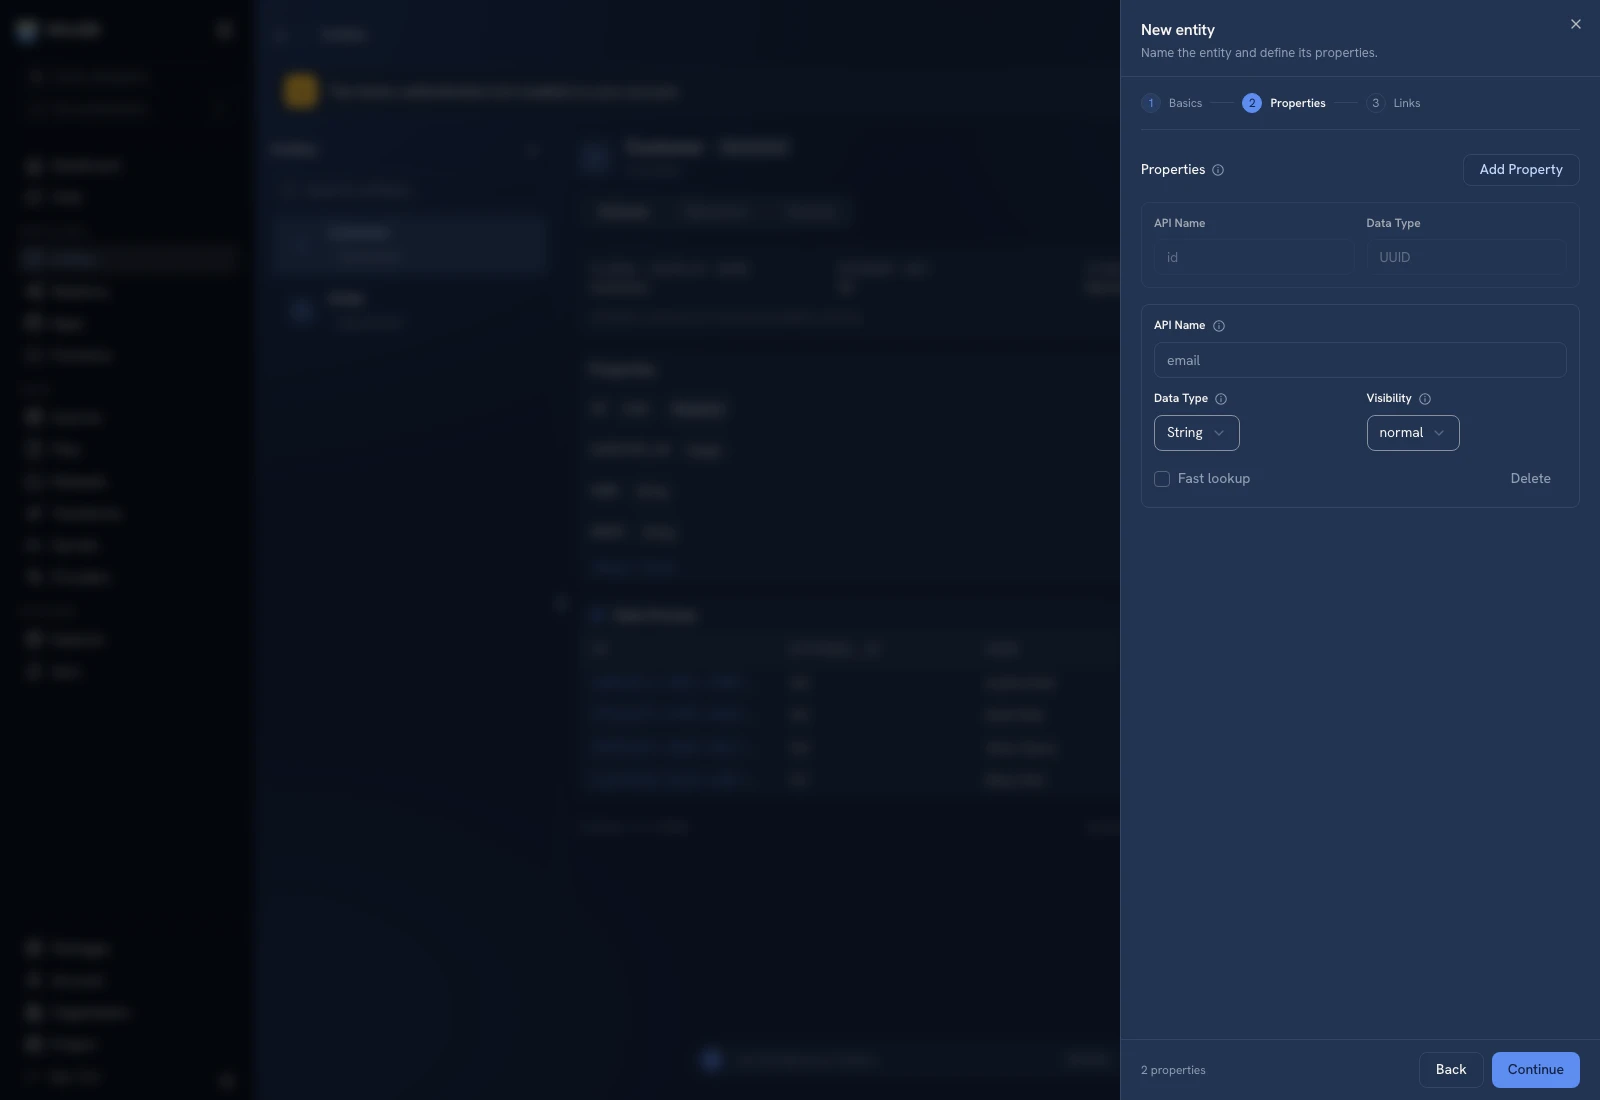 The Properties step defines fields and the options that control how they are exposed.
Use the property reference to choose types and presentation flags. Define a stable business key for imports and upserts; retain the generated managed identity unless you are intentionally using a supported custom model.
Step 3: Links#
Add links only after the target entity exists. Select the target, cardinality, and connecting properties; use the relations guide to verify the mapping. Finish with Create Entity.
Verify and populate#
Select the new entity and inspect Schema. An empty data view immediately after creation is expected: a model definition is not a data import. Add a test record or run an import transform, inspect the rows, then build apps or functions on the model.
The entity detail also has Behaviour and Sharing tabs. Configure those separately using behaviour actions and sharing.
Was this page helpful?